The ultimate guide to apply the concealer perfectly Tips and steps to make the best use of the concealer, a true ally for our beauty
Among the most commonly used make-up products, the concealer is the perfect ally that - when used correctly - can radically change our look. Did you know? In addition to hiding the eye bags and dark circles, it can in fact illuminate a tired face and cover imperfections.. in short, a true ally of our beauty, all day long!
In fact, many beauty addicts mainly use the concealer without applying the foundation, especially on these summer days when it is good to give yourself a tone but it is also essential to let our skin breathe as much as possible. On the other hand, many women instead completely exclude it from their beauty routine because they do not know how to find the right shade or do not know how to apply it correctly. Well, we are here to reassure you, in fact once you learned the basics and tried applying it a couple of times, you will find out that the concealer is absolutely one of the best beauty choices you can do, and it is easy to use!
Before moving on to the step by step, however, remember the number one rule: the concealer should never be noticed. It is not like the red lipstick, the eyeliner or the mascara that are used to be seen, the concealer must not draw attention to the beauty look, on the contrary, it must make your features more harmonious but invisibly.
That said, many of us often wonder when the concealer should be applied during the makeup routine. The answer is: it depends. To cover dark circles, the concealer must be applied immediately, as a base, even before foundation; to cover pimples and imperfections, it must instead be used at the end of the make-up, as a final touch, otherwise it would be accidentally removed during the application of the foundation.
Ready? Let's now see specifically the steps to follow to apply it correctly and take advantage of its various uses.
STEP 1
Start by choosing the right shade for you based on the undertone of your skin, the complexion and in particular the color of the affected area. The yellow, beige and orange concealers are the most suitable to cover dark circles: the first for those tending towards purple, the second for those tending to pink and red, while the third for those tending to blue. The green concealer is used instead to contrast and neutralize a redness and therefore is ideal for covering pimples, capillaries and localized redness. Finally, the purple and pink concealers are used to brighten the dull complexion or a tired face, as well as to minimize bluish dark circles, while the peach shade of the concealer is more suitable for brown dark circles. In this step it is important to choose the right texture, as well as the right shade. The most moisturizing correctors with a more liquid texture are more suitable for areas marked by fine lines and skin, such as dark circles. The more compact and dry ones are used instead for skin imperfections such as pimples.
STEP 2
Once you have chosen the textures and shades you need, start with the liquid one to hide bags and dark circles by proceeding to apply the product in this way: draw a triangle with a U-base on the eye-hole and the tip towards the cheek (in so that it ends more or less in the middle of the face). Lightly color the triangle that you have formed and blend the color well over the entire area under the eye and part of the cheek and cheekbone. In this way, in addition to hiding dark circles, you will illuminate that part by creating the optical illusion of a relaxed face
STEP 3
Continue applying the same shade or a more suitable one, according to the color of the area, spreading it on the other irregular points of your face - including the chin, nose and mouth, if necessary - and continue to blend. Also apply a light second layer of product if you need more coverage but always without exaggerating.
STEP 4
If you have impure skin or have dark areas, sun spots, scars or birthmarks, you can - at this stage (or after applying the foundation if you use it) - proceed with the application of the concealer to correct any imperfections. Dab it on the surface of each mark and then gently blend it outwards. Important: spread only a veil to avoid the greasepaint effect; if necessary, you can always stratify it progressively.
STEP 5
After having carefully covered and blended all imperfections and dark circles, fix the concealer using a bright fixing powder and a special brush to make sure that it remains in place for at least 12 hours.
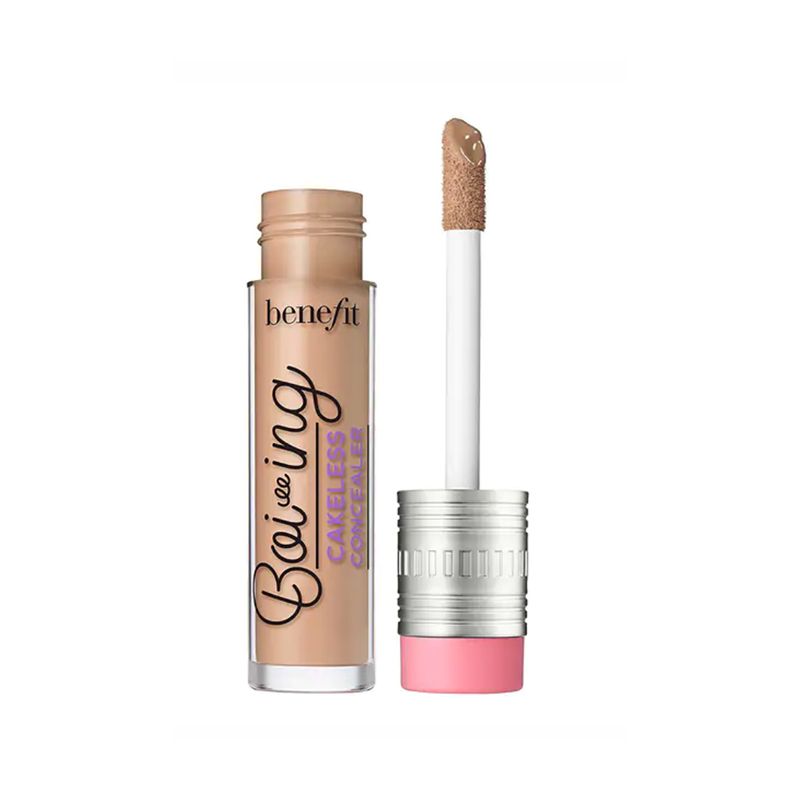
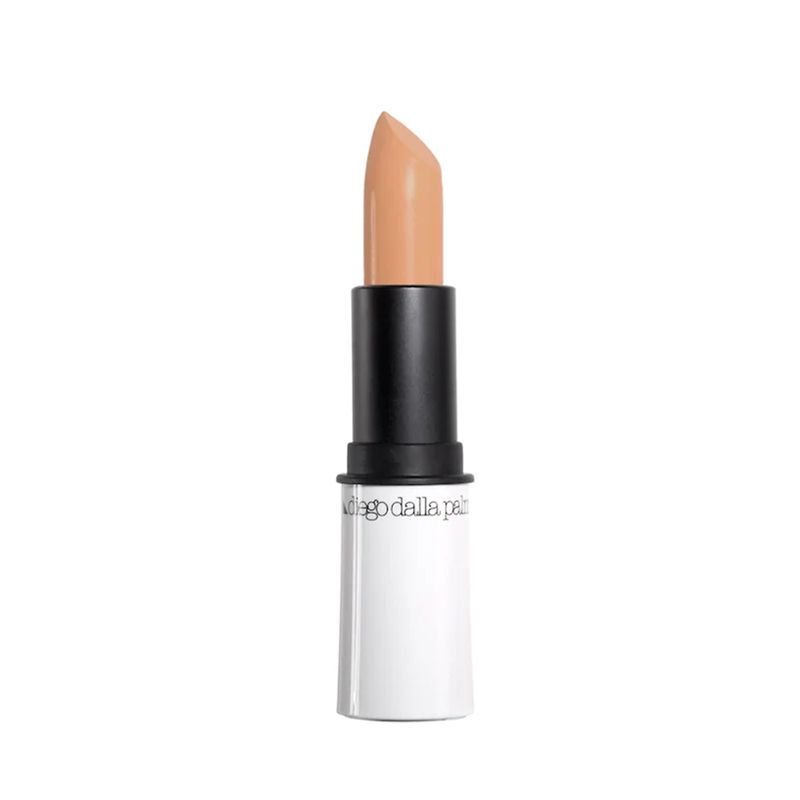
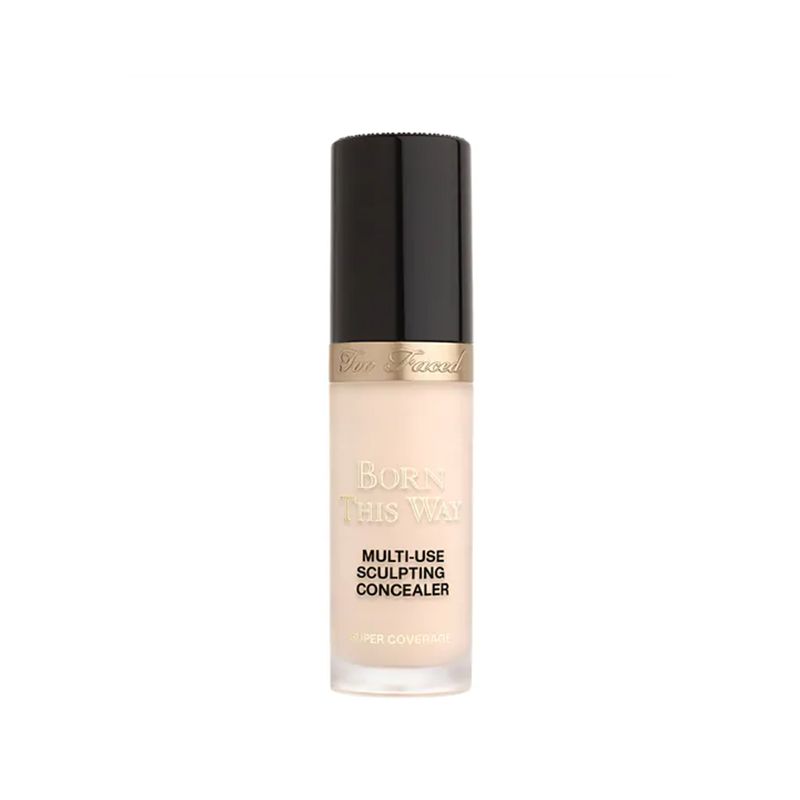
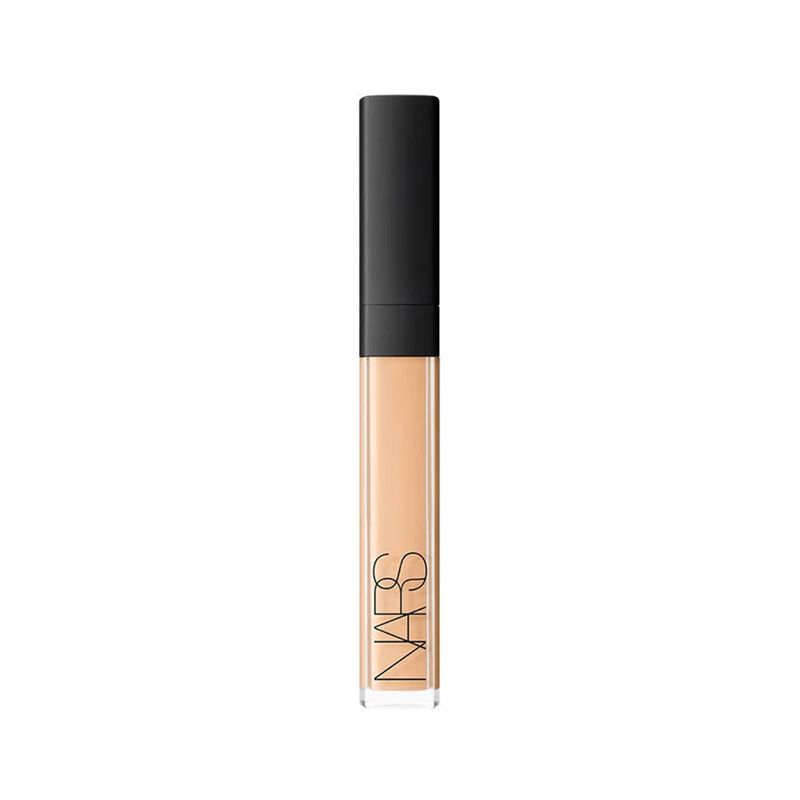
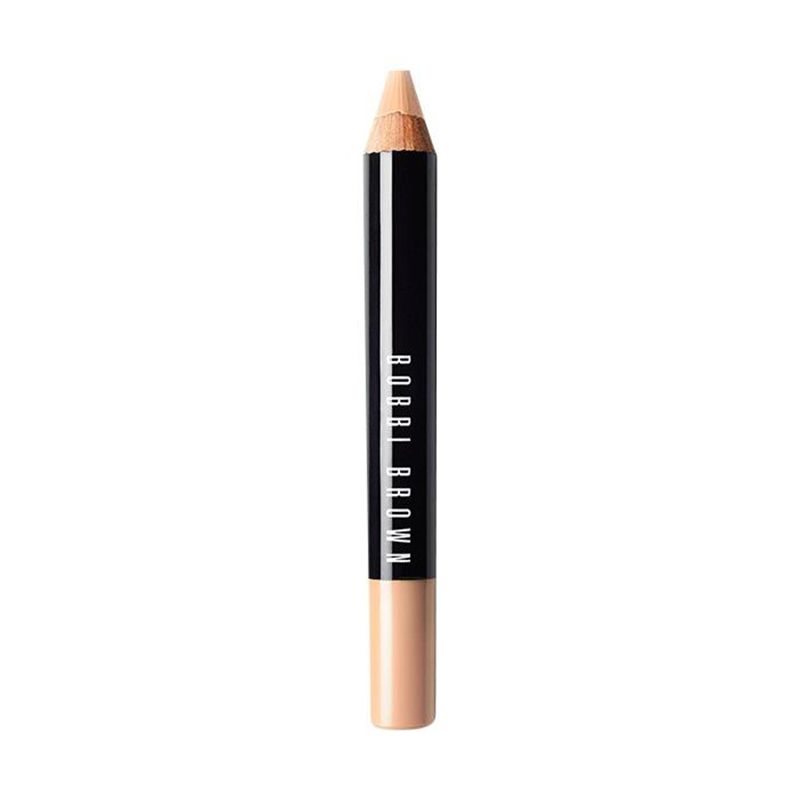
Well, have you seen that it is not difficult at all? The secret is also to always apply the right amount (never too much because it would end up accumulating in the folds of the face and therefore you would notice a lot). And if you now want to choose the one that's right for you, at nss G-Club we selected our favorites in a mini shopping guide.


