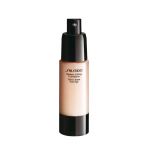
Guide to the application of a perfect foundation
Step by step guide and shopping tips to make the complexion uniform and bright

May 19th, 2020
Often it is forgotten, just because it is believed in an old cliché that the foundation does not let the skin breathe. Totally wrong! This could have happened in the 80s when the choice was limited and the formulas were very opaque and rich. Today, however, the textures are much more fluid and lighter, almost impalpable, to the point that it is almost impossible to perceive them, if applied in the right way.
It is therefore very important not to skip this step in your daily beauty routine as it is essential to make the complexion uniform, bright and without redness or imperfections. Furthermore, especially for those who live in the city, the foundation protects the skin from pollution, environmental aggressions and UV rays. Why give it up then?
For a wow effect, however, one must necessarily be careful and respect some important rules: when applied correctly, in fact, it can transform the face into a "pearl", perfectly uniform, luminous and smooth; but when applied hastily and without criterion, the foundation has the ability to highlight fine lines that you didn't know existed, make the skin chapped or - on the contrary - oily and leave a "mask" on the face that is not very nice to see.
The choice of the product is essential. Remember: the right shade must be one with the skin, neither lighter nor darker. To identify it, it must be tried on the face which is the part where we are actually going to apply it (and not on the wrists, hands or neck as often seen around). How do you try it? Simple, just put a drop of test on the cheek or forehead. Let's move on to the texture: an unforgivable mistake in the purchase of a foundation is the choice of the wrong consistency. The perfect foundation must blend with the skin. So choose the formula and coverage that best suits your skin type. How? If you are not very practical, better get advice from expert consultants (in pharmacies or perfumeries) who, being able to see your face, will be able to help you choose the one that suits you.
As simple as it may seem to put on the foundation once you have chosen the right one, it really isn't. But don't worry: just a few attentions and a few simple steps are enough for an extremely natural result. Are you ready to find out?
STEP 1
Let's start by preparing the skin. Makeup tends to settle in folds and "cracks" of dry skin, so if your face is not properly cleaned and hydrated, forget a wow effect. So, after cleansing it, don't forget to massage it with a light moisturizer (possibly together with any other skin care product you usually use in the morning). Wait 15 minutes before the products are completely absorbed and, at this point, you can proceed with the application of the foundation.
STEP 2
After dabbing a few drops of foundation on the main points of the face (forehead, cheeks and chin), arm yourself with a beauty blender, preferable with a brush or fingers, moisten it with water and start blending the product by spreading the color with pointed movements ( not by dragging or rubbing) but by quickly touching the sponge on the points, spreading the foundation all over the face - including the hairline and the jaw. Continue the application also under the chin up to the neck to avoid the color "detachment".
STEP 3
At this point, if any imperfections are still visible, just dab and blend (always with a sponge) a concealer on the areas that require a little more coverage.
STEP 4
Now, blend the whole face with a translucent powder to make the effect last. With a large and soft brush, gently apply the latter, especially on areas that tend to become more shiny and oily, such as the T-zone.
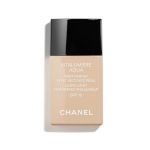
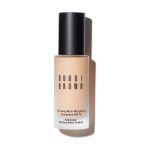
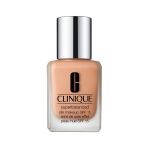
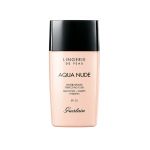
And as for the choice of products, here are the 10 best foundations for all skin types.


