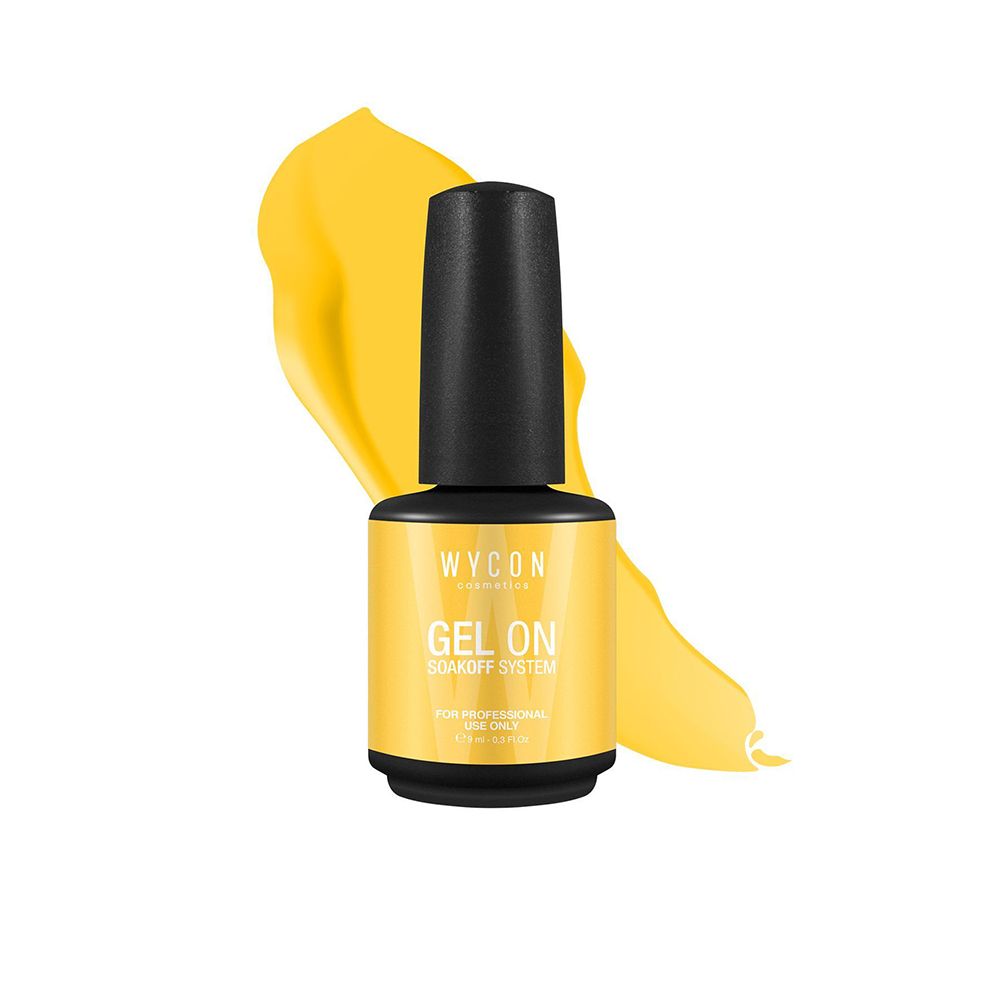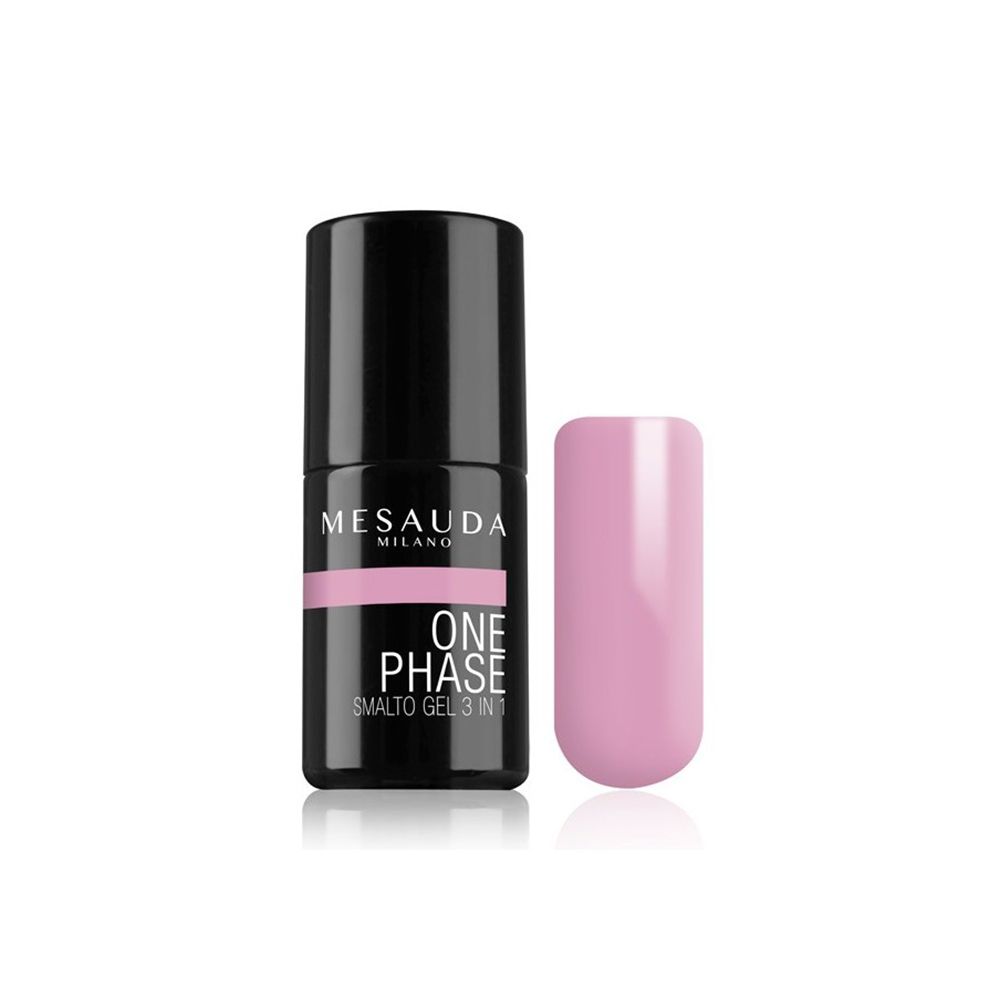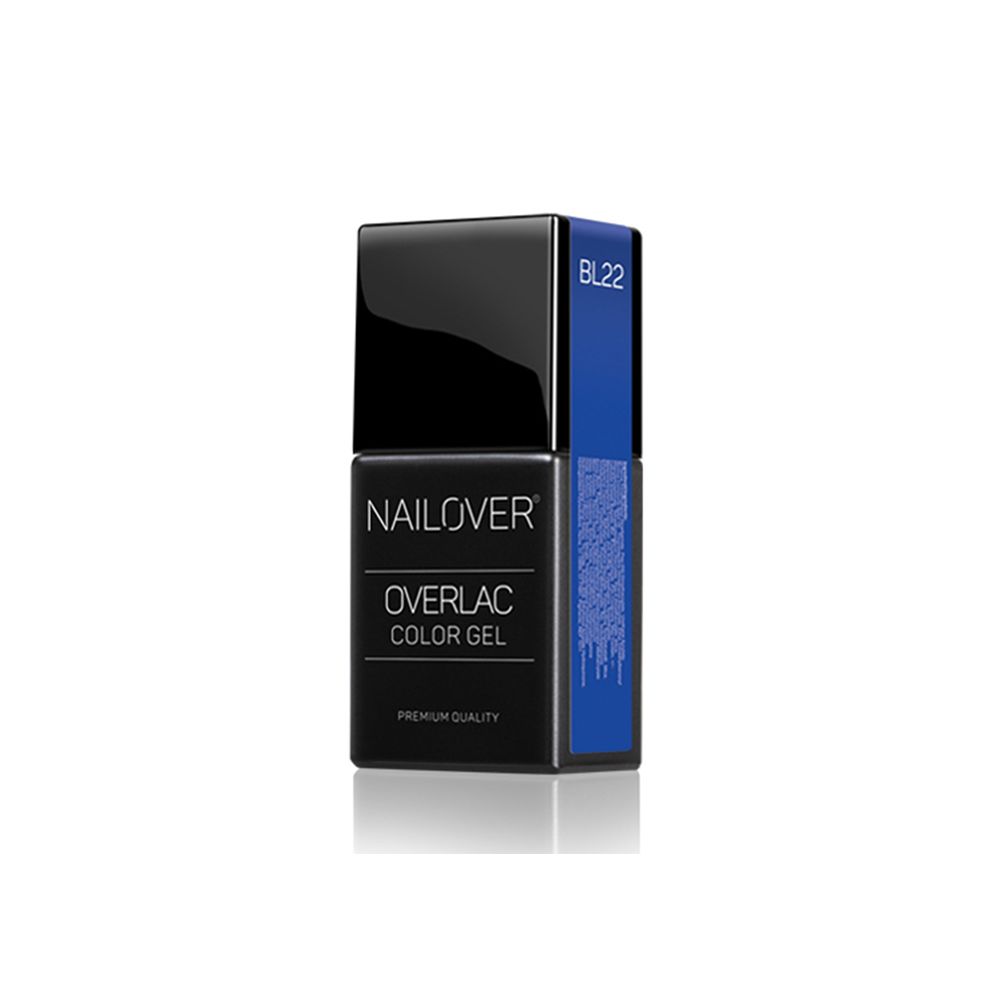
The ultimate guide to apply and remove the gel nail polish Tips and the right products to apply and remove the semi-permanent gel polish at home
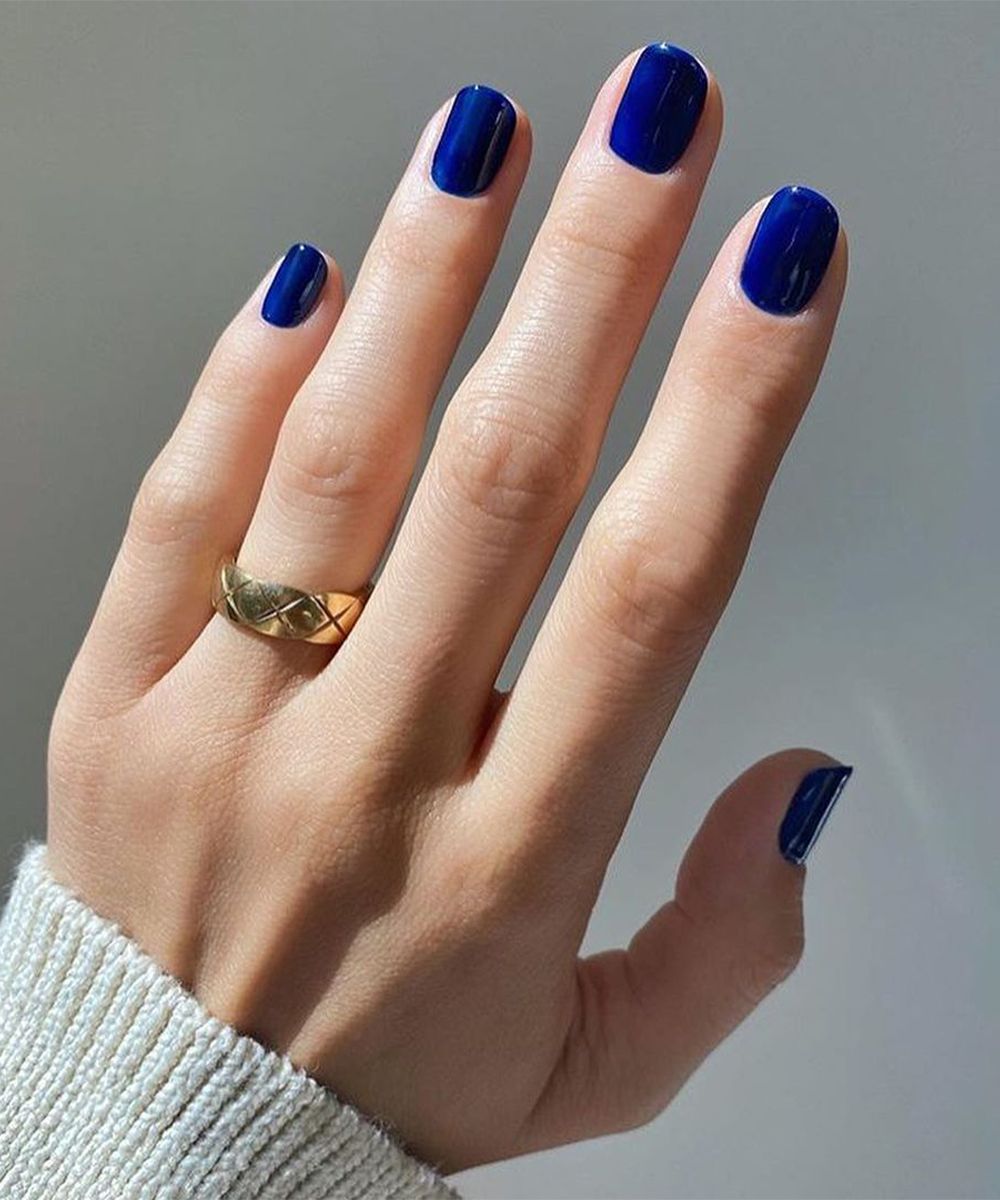
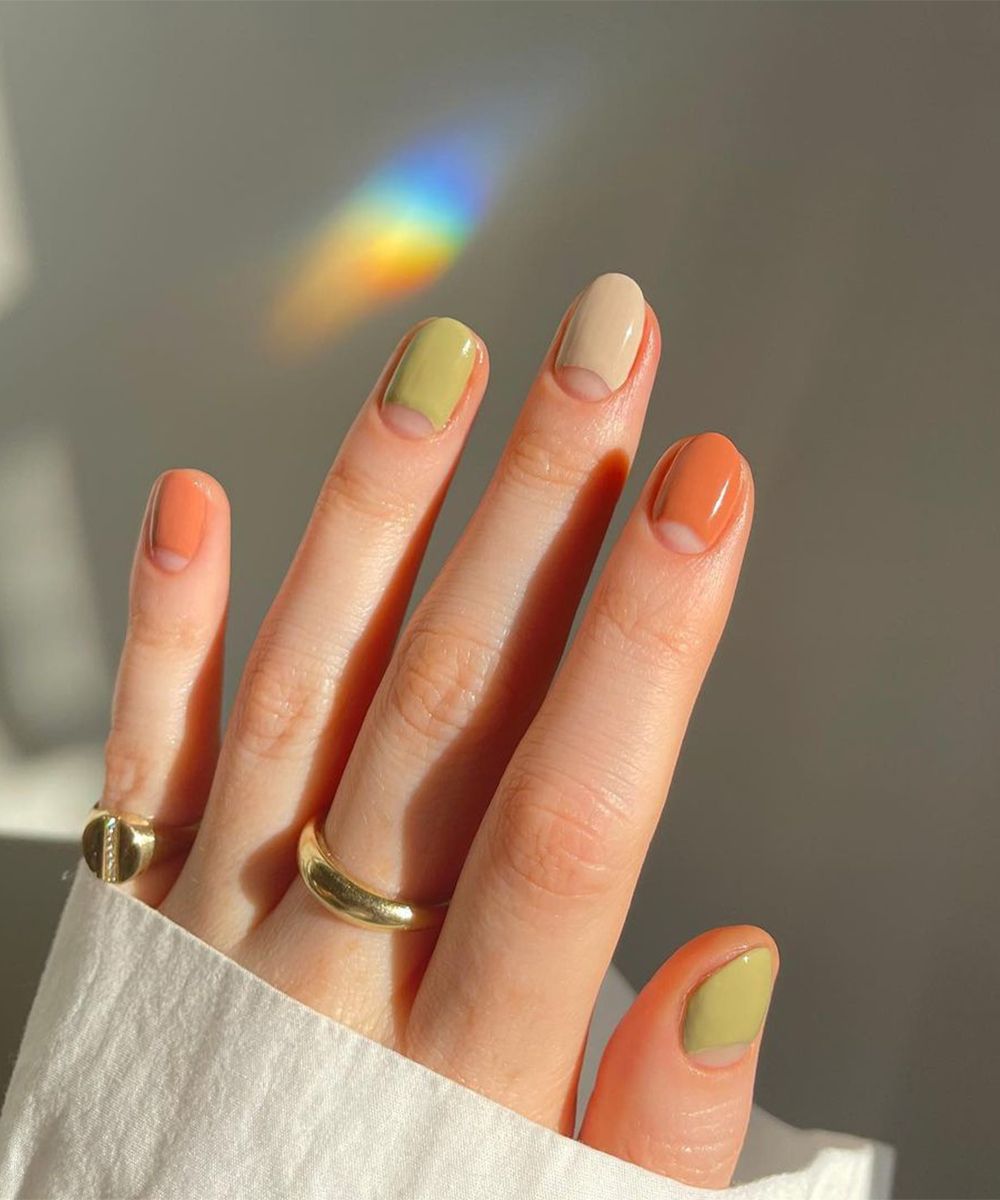
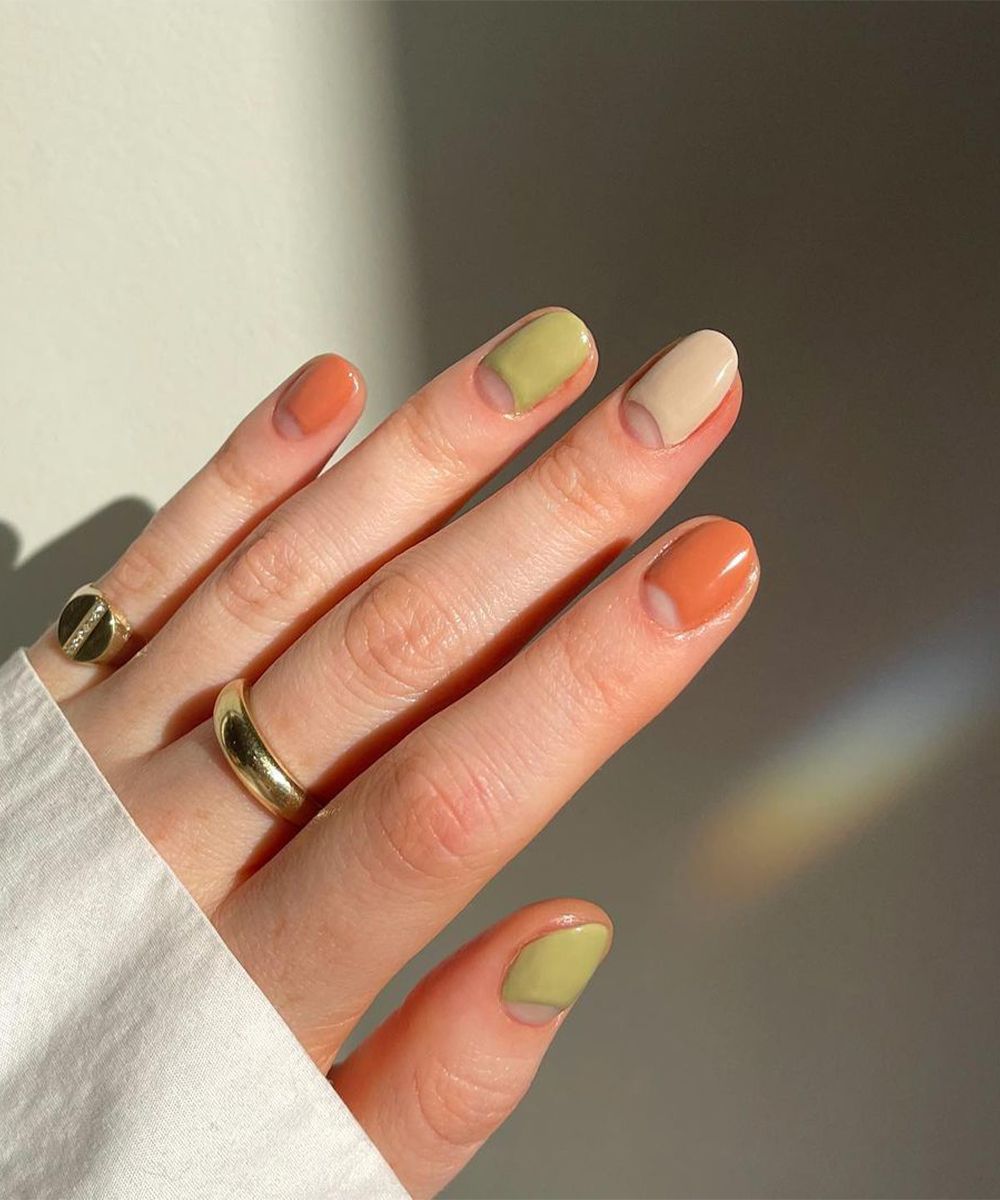
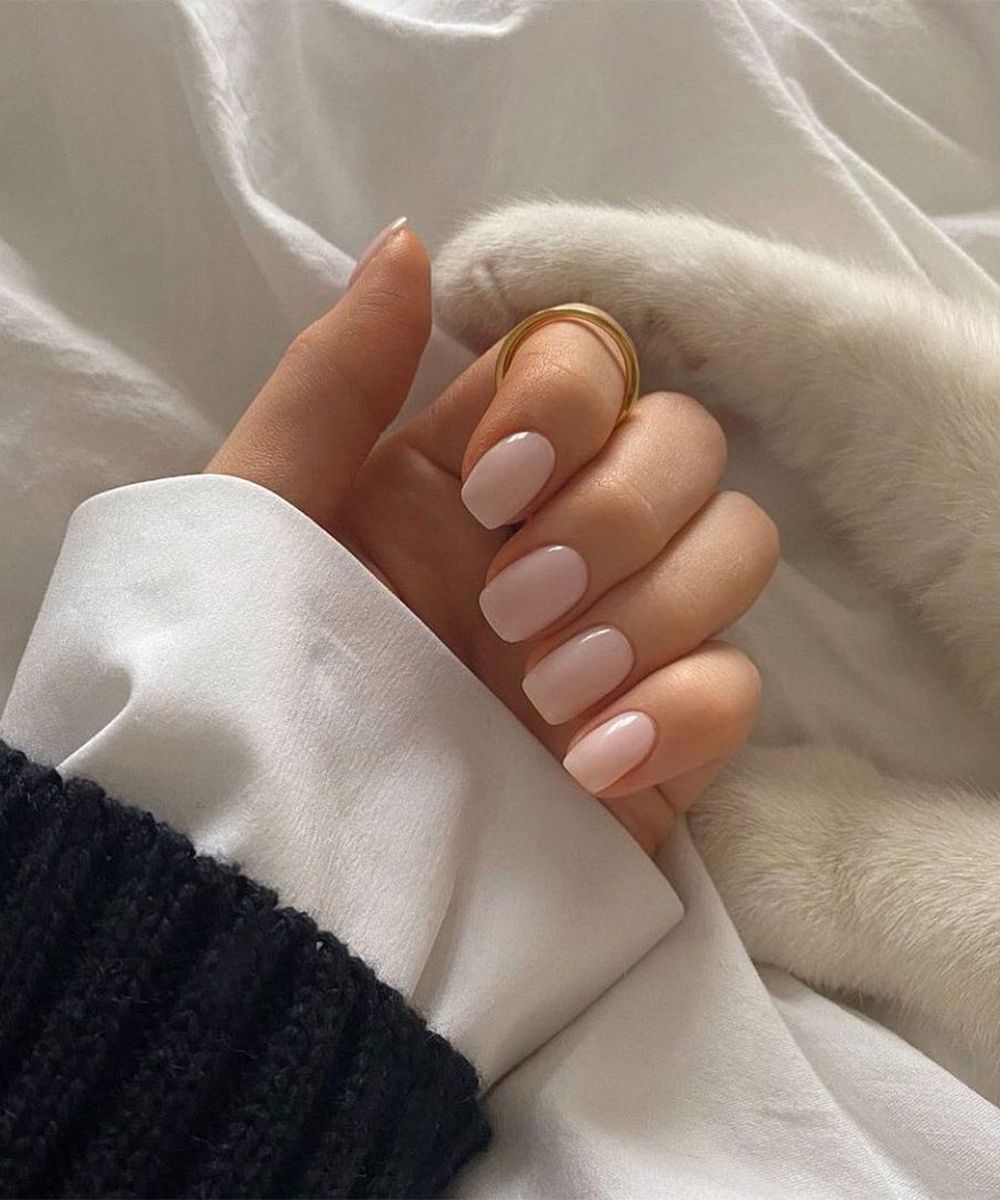
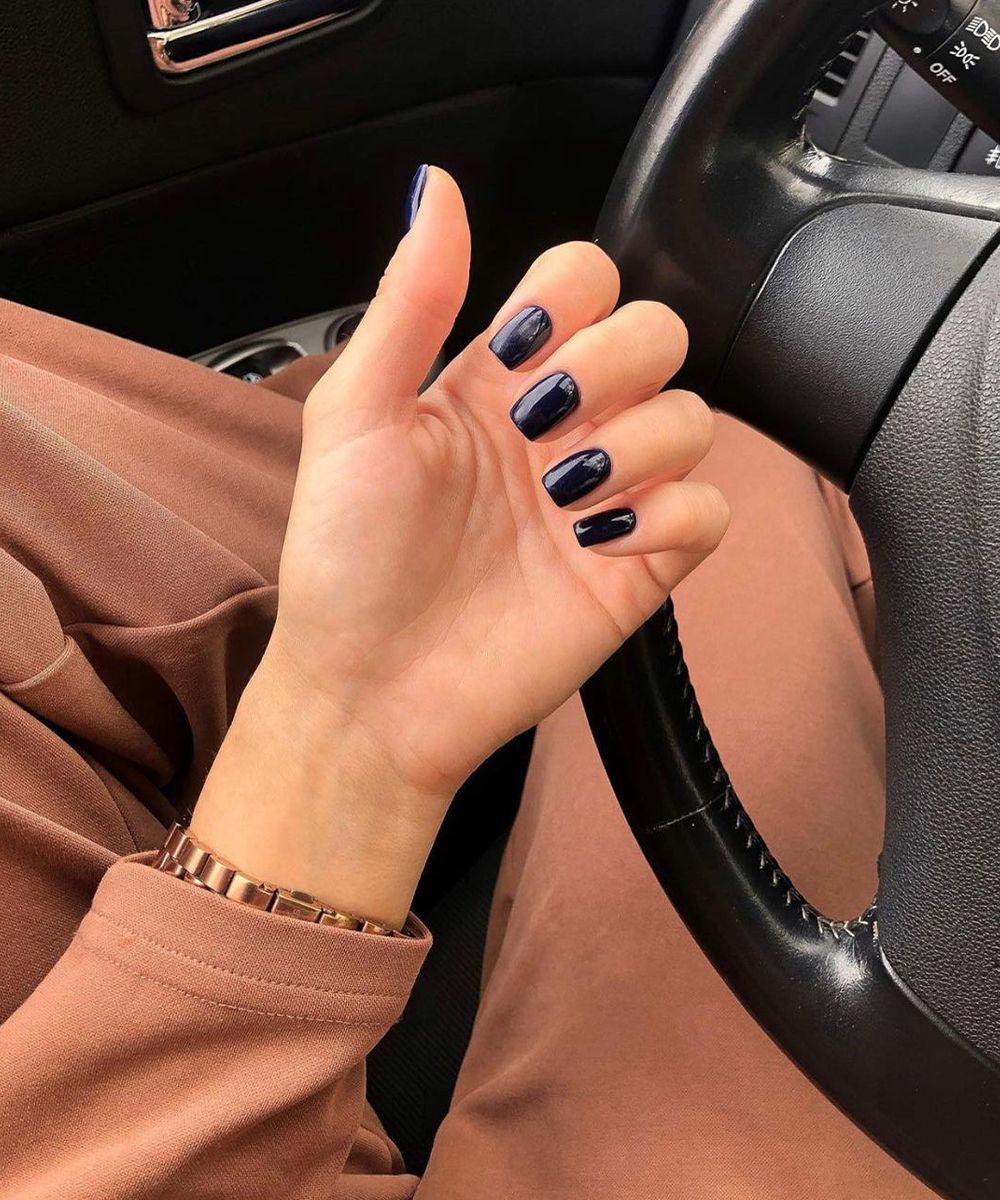
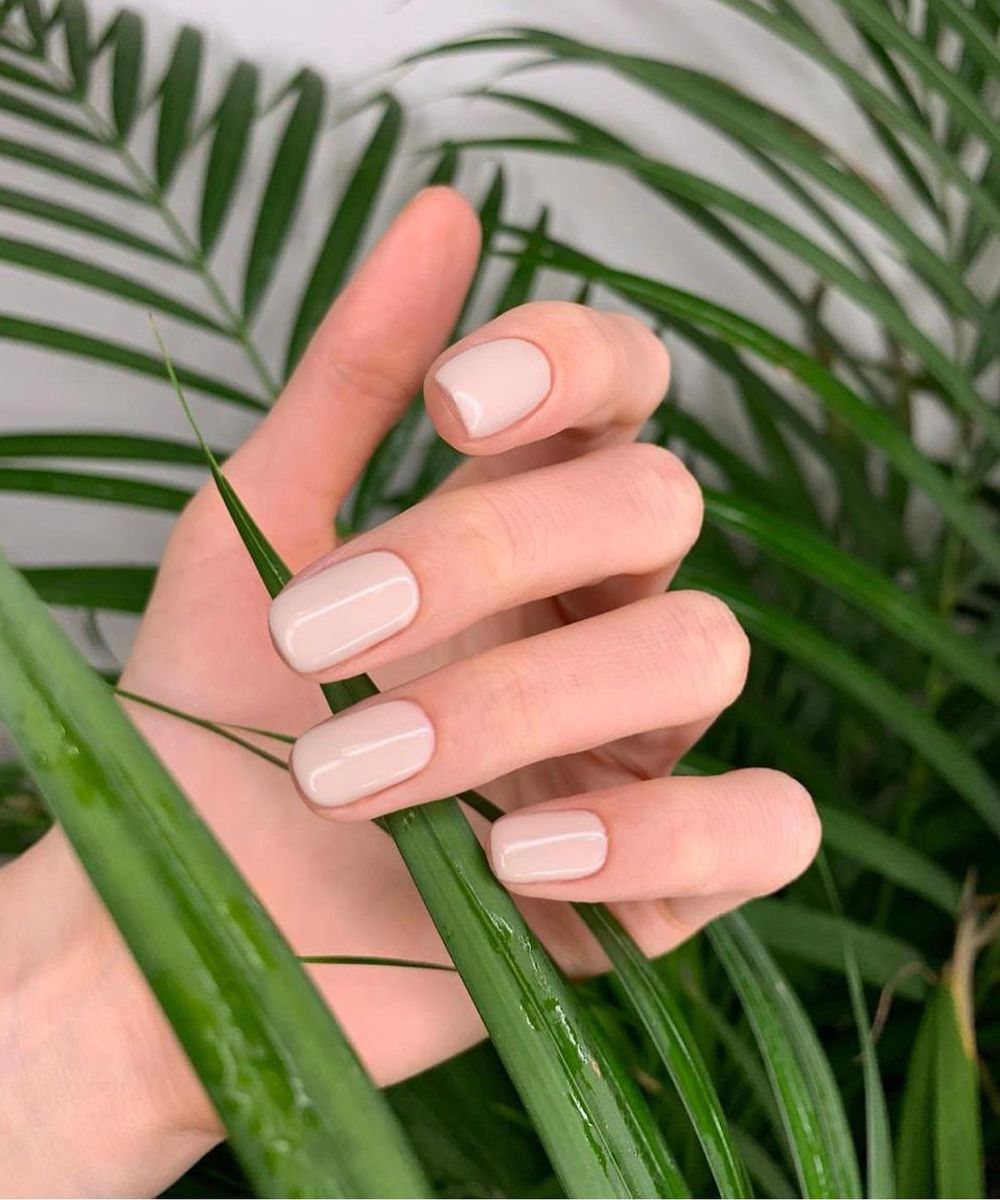
In the era of social distancing and "lockdowns", booking an appointment at the beauty salon to apply (or just remove) gel polish is no longer as simple and immediate as it used to be. Domestic life has become routine and we are getting used to a sort of "second life" in which it is pleasant to discover and learn new ways of doing things so as not to lose our habits. If you are therefore a lover of hands that are always in order and well cared for, you must know that semi-permanent nail polish is the one for you: a mix between a classic manicure with nail polish (which however fades in a short time) and a reconstruction (which sometimes proves too invasive for the nails). In fact, unlike the gel, the semi-permanent is much more delicate but still lasting.
A matter of tastes and needs. For several years, semi-permanent nail polish has been particularly popular as it allows us to have flawless nails over the long term (up to 3 weeks). In addition, thanks to research and the use of new formulas, it has evolved so much that it is no longer a prerogative of beauty centers, but can be done "do it yourself" by purchasing the right products. And how to do when, after a few weeks, the semi-permanent starts to wear out on the edges and to lift off the nail? It is time to remove it, but, unlike traditional nail polish, it is not enough to do it with solvent and cotton swab, but through an ad hoc procedure.
In short, the removal of semi-permanent gel polish is not impossible, but it must be done with care, using the right techniques and some precautions, in order not to damage the nails. The important thing, in order not to ruin them, is to carefully follow the necessary steps through a delicate operation to be done without distractions.
Here are the steps to follow and the right products for a perfect semi-permanent manicure (and removal) even at home.
TO APPLY
STEP 1
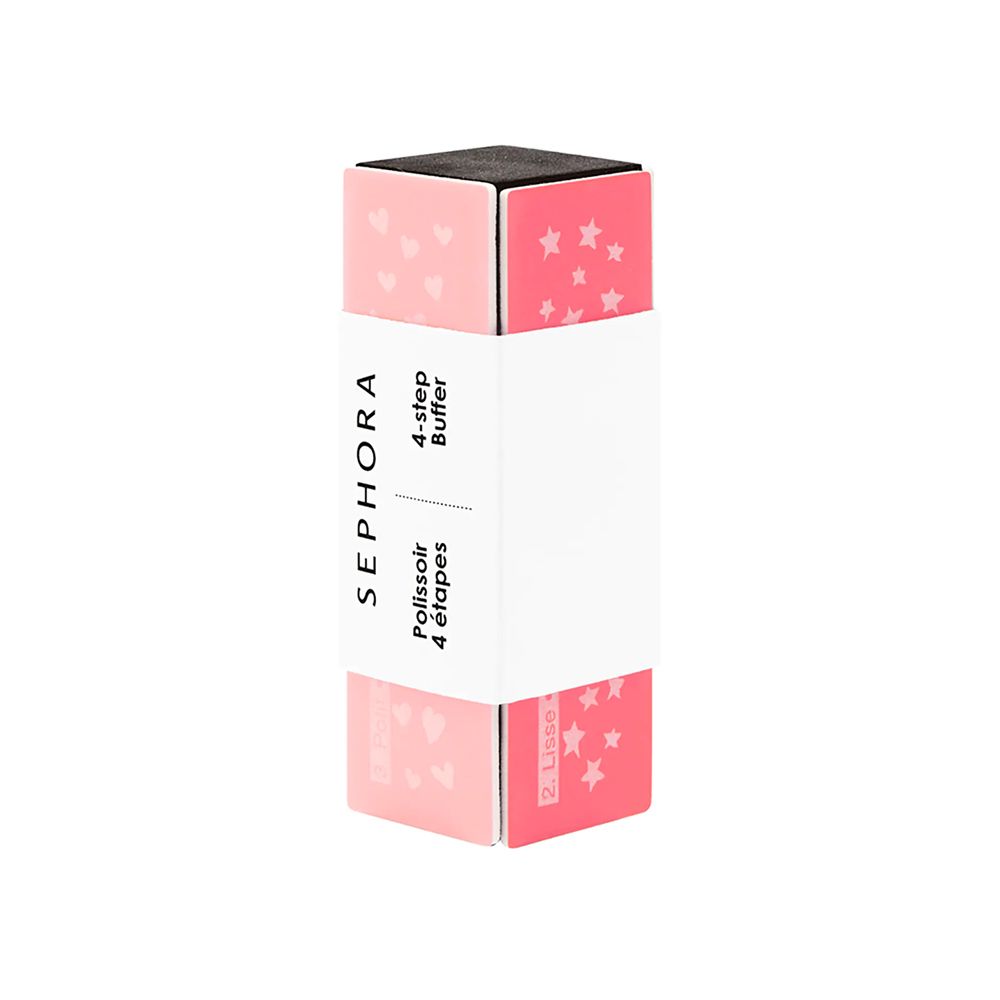
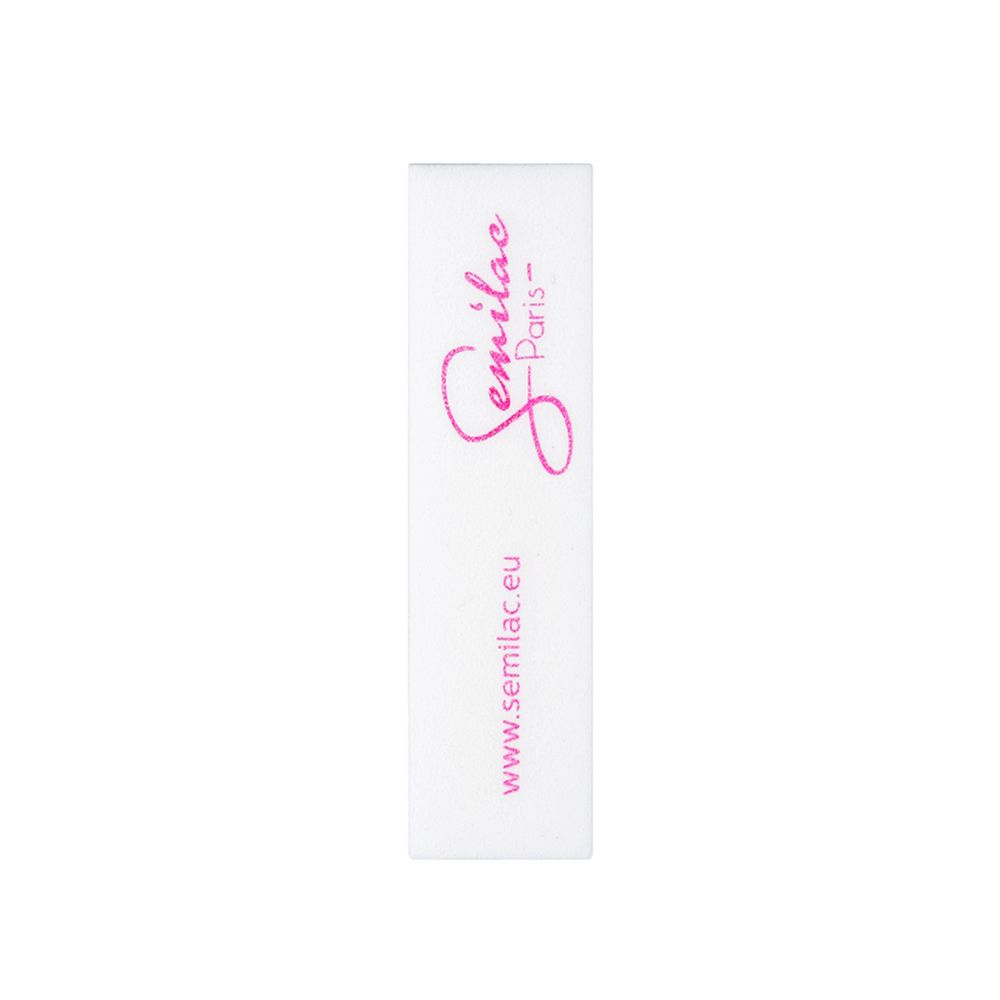
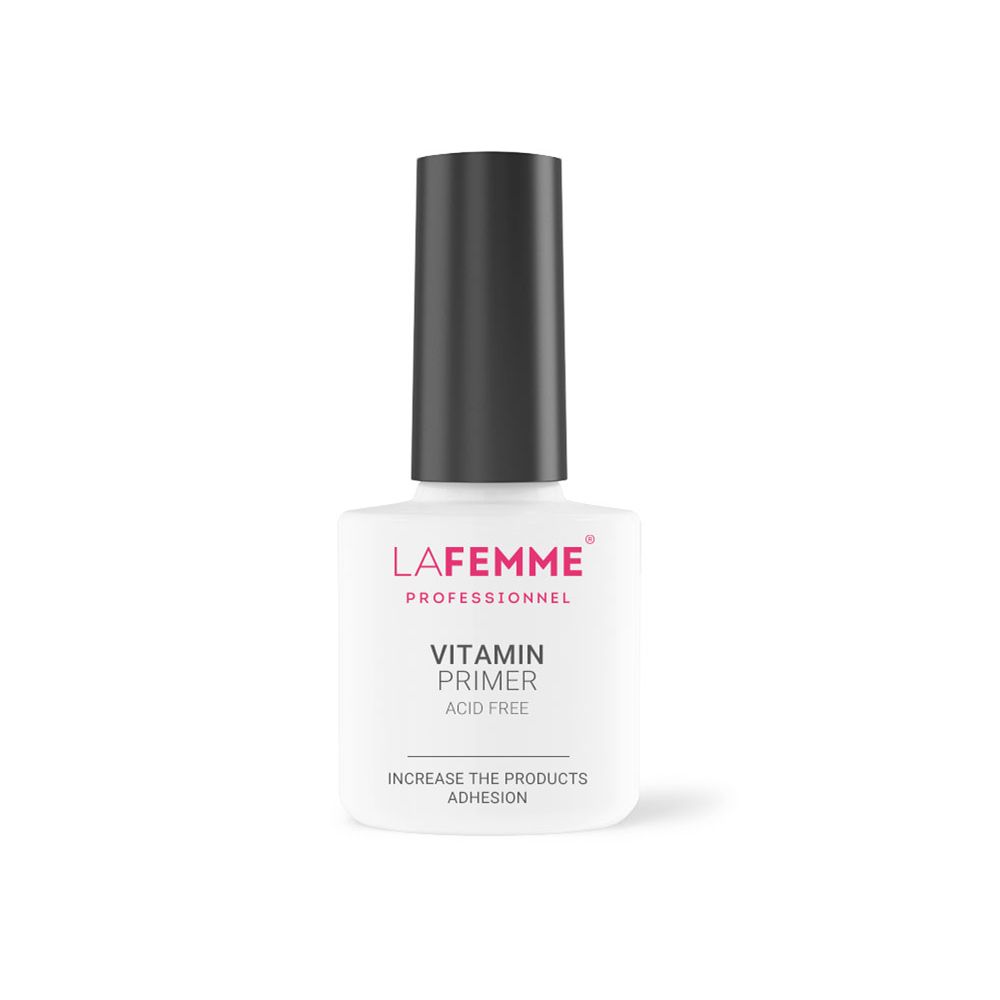
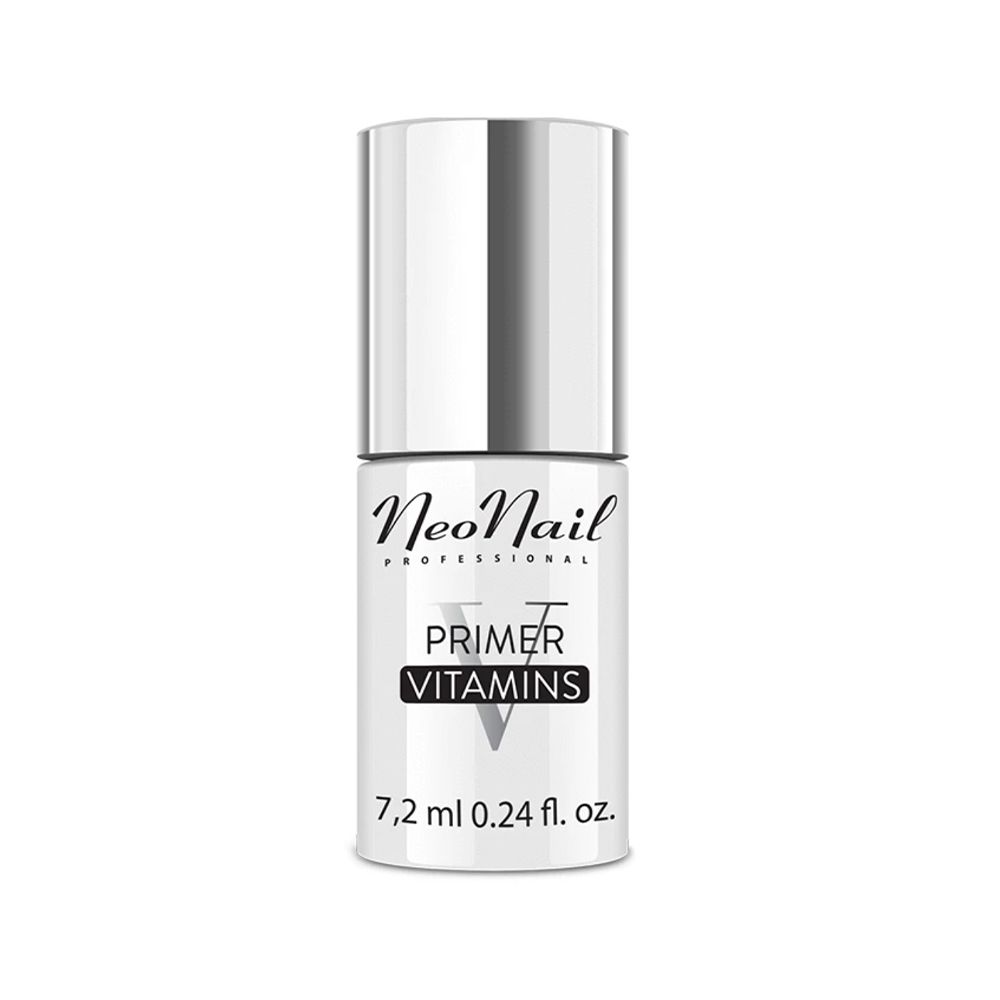
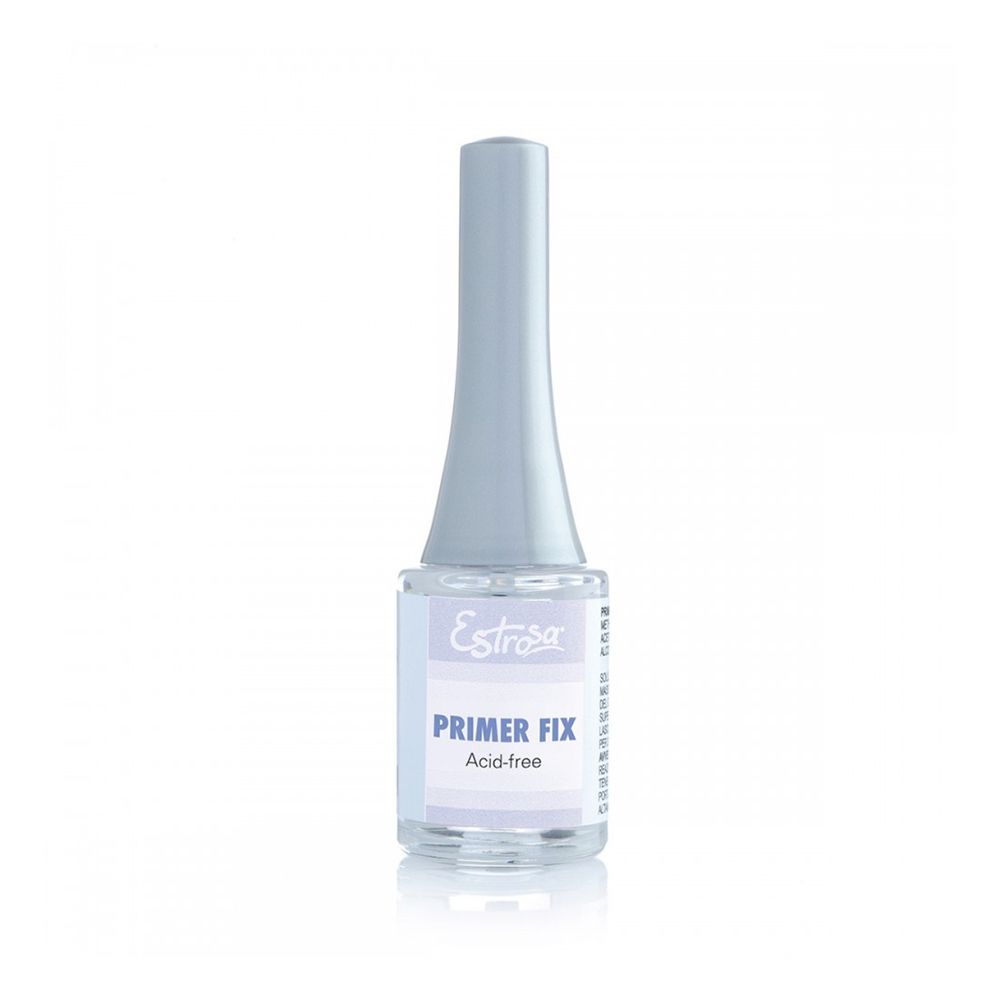
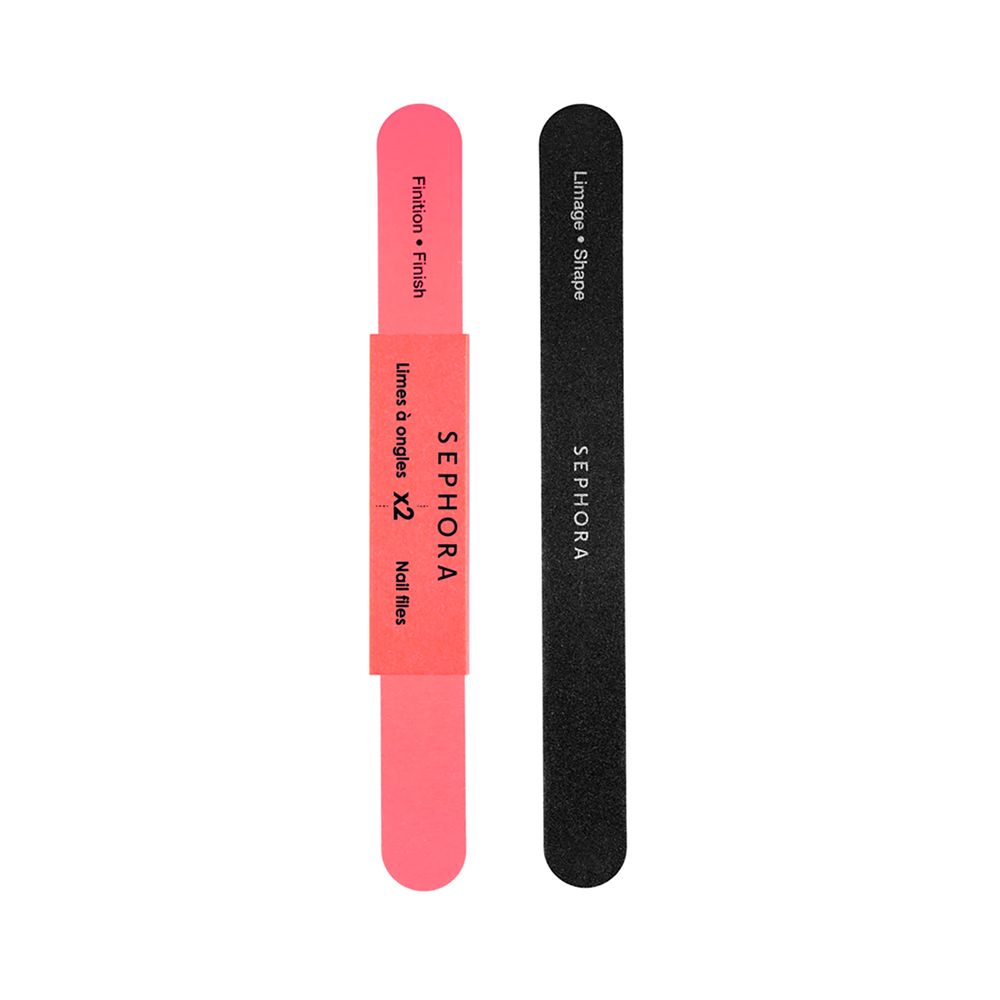
Start by gently cleaning the cuticles with the buffer file (the rectangular abrasive "brick"). Be careful not to file off the natural nail polish as you would for reconstruction: the semi-permanent procedure requires only "degreasing" the surface. It is also essential to protect the nail from the enamel that is about to be applied by applying the transparent primer so the UV lamp is not needed; it will take about thirty seconds for it to dry naturally.
STEP 2
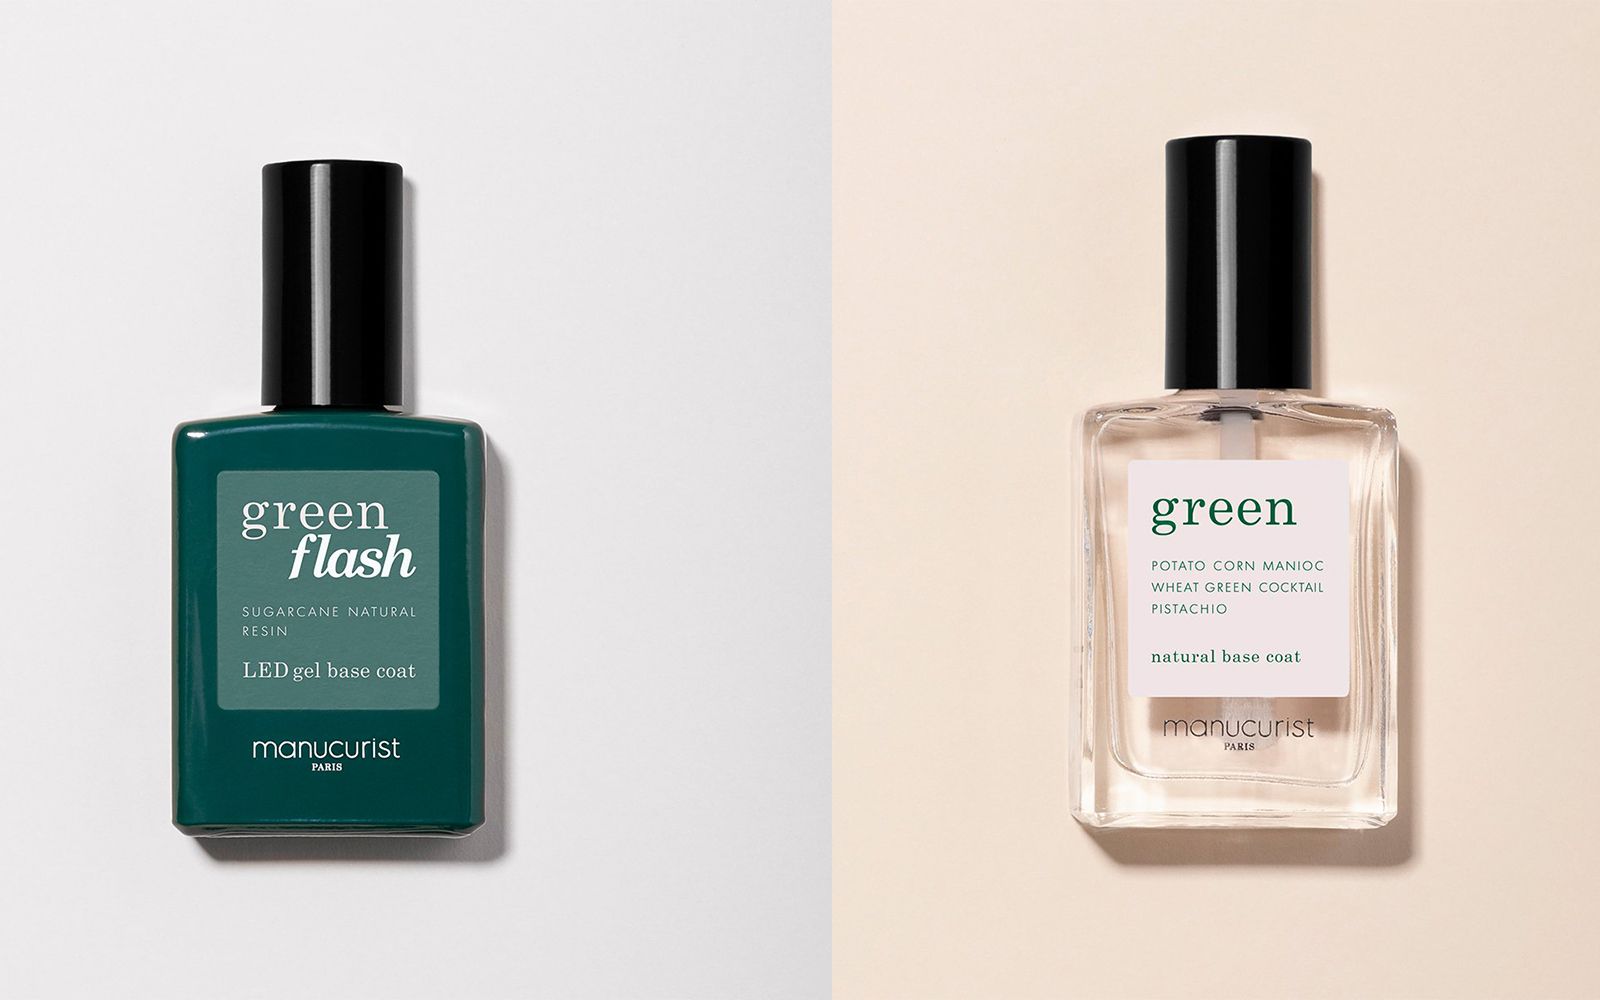
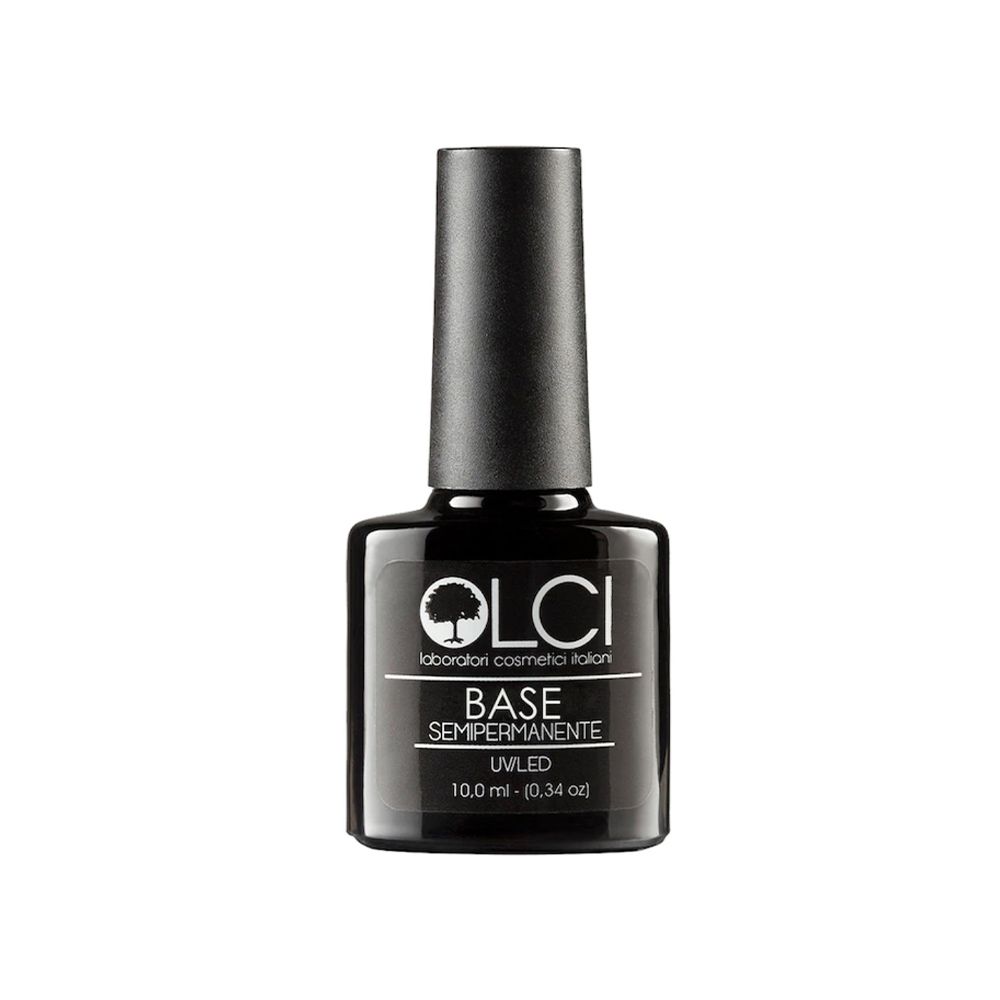
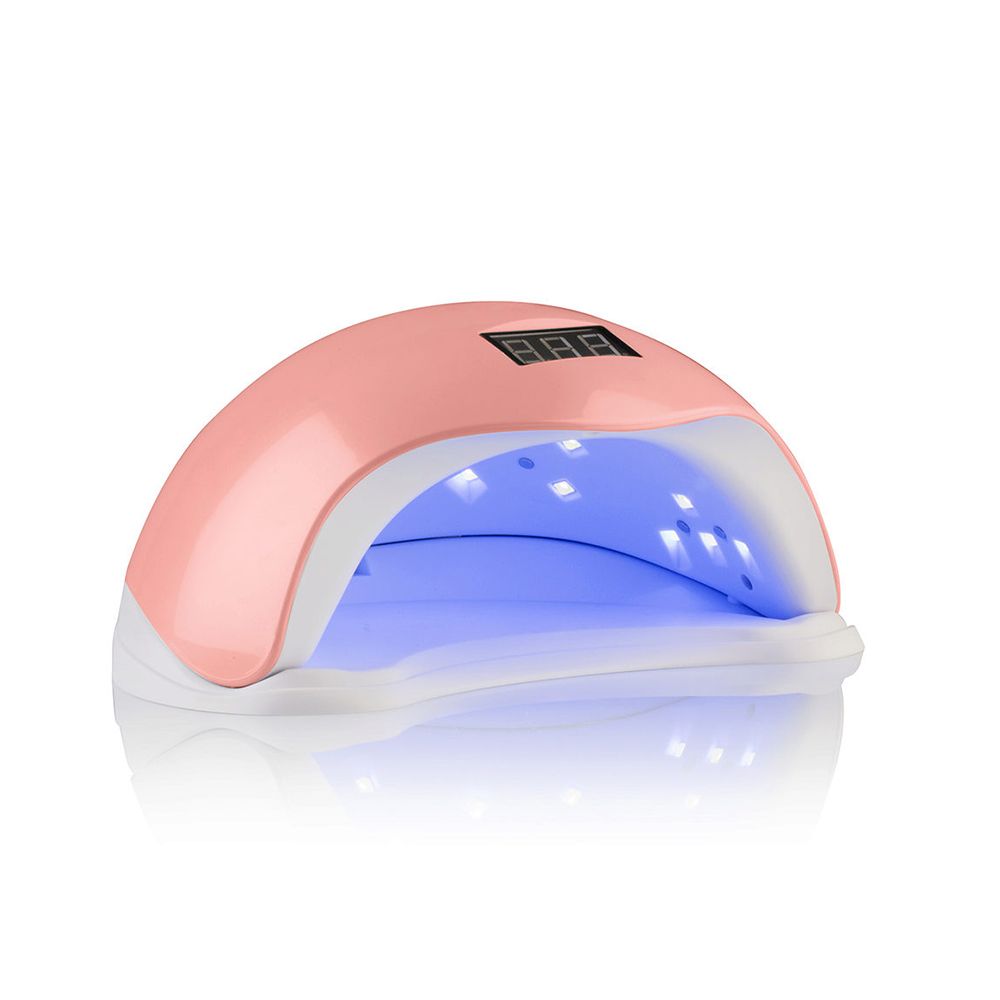
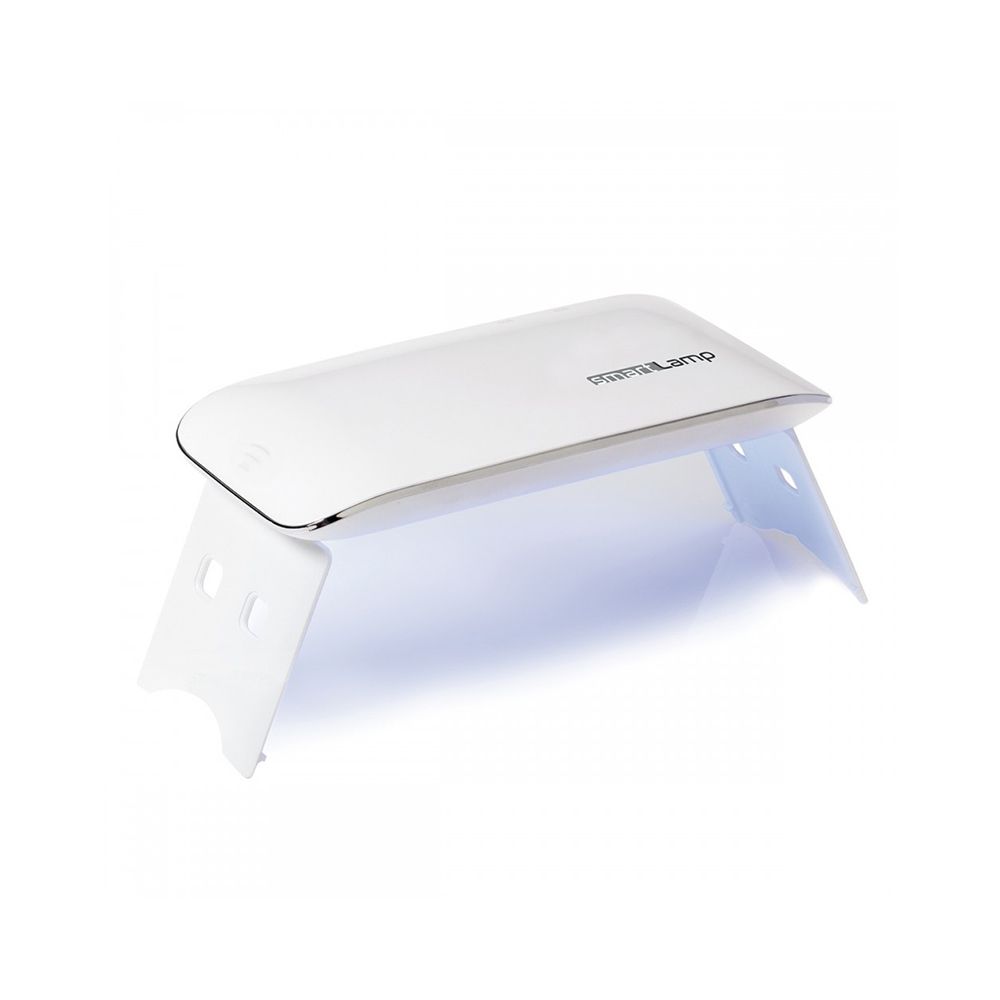
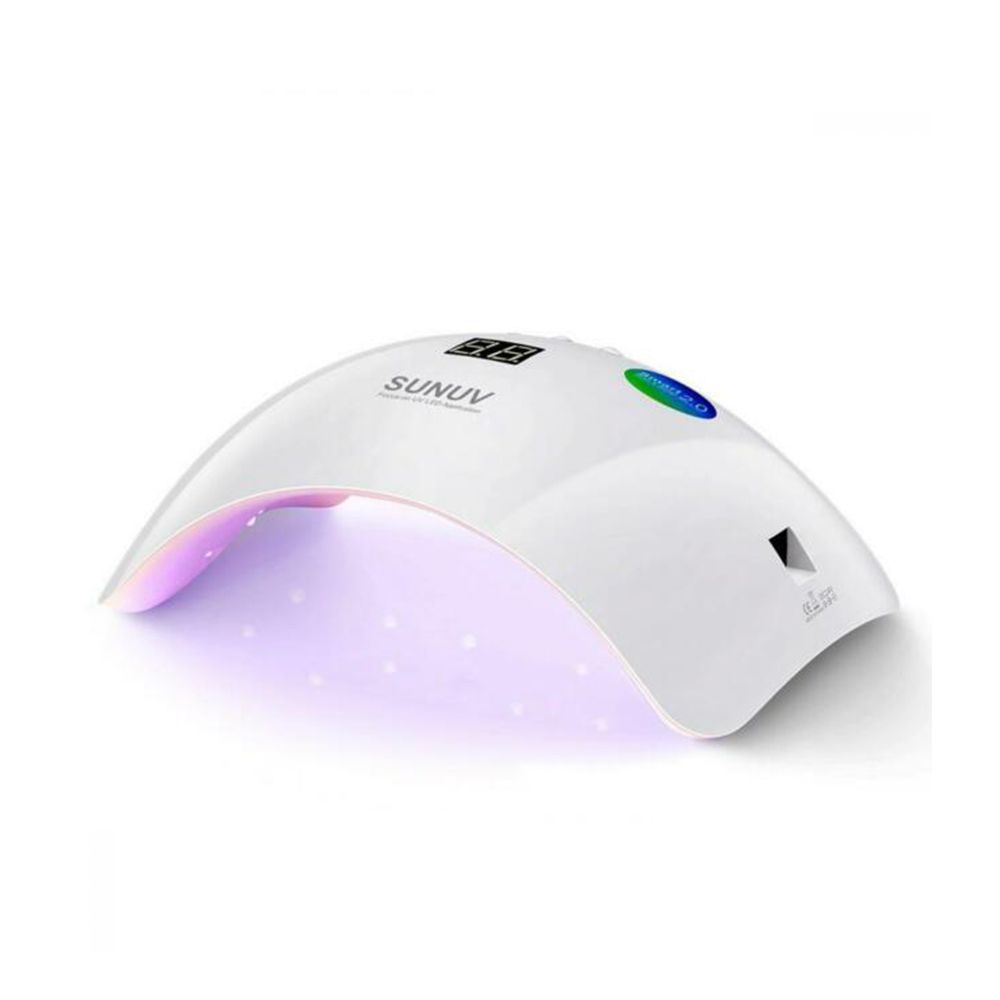
Now apply the base coat on the nail and let it dry in the UV lamp for about 60 seconds. Be careful not to go beyond or even touch the cuticles, otherwise, when you dry the polish by polymerizing in the lamp, it will rise to the sides. If by chance you touch the cuticles, don't worry: remove the excess with a cherry stick and then put your hand in the lamp.
STEP 3
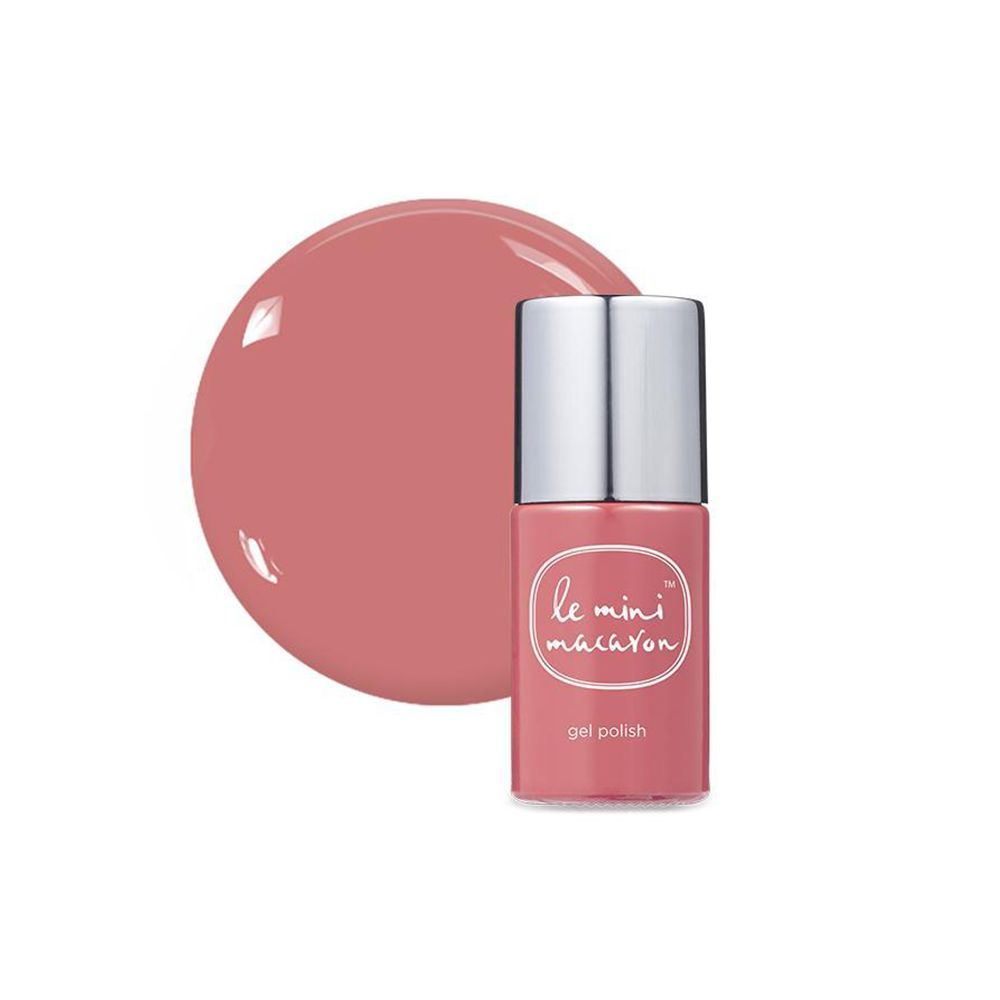
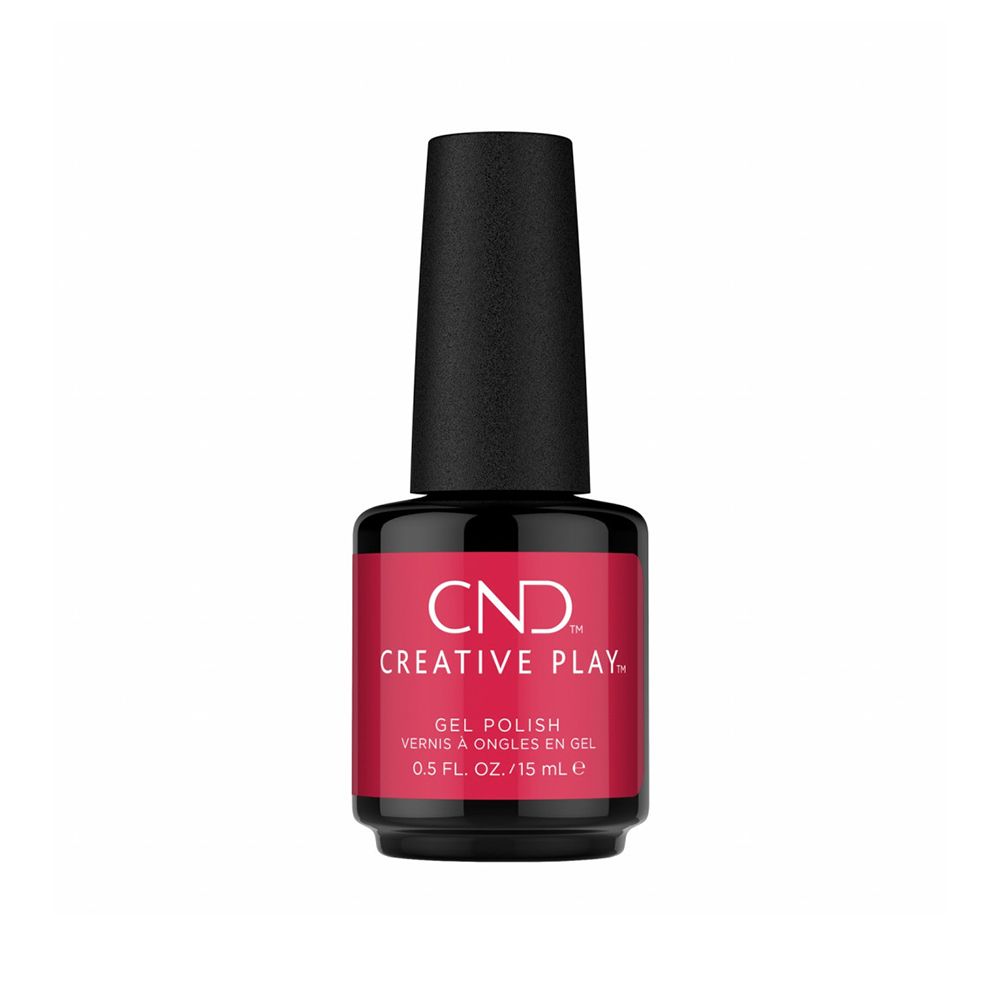
Let's now move on to applying color by applying a first layer of polish on the nail with the same principle: that is, without ever touching the cuticles and removing any excess. Pass your hand through the lamp for 60 seconds and repeat the operation with another layer of enamel.
STEP 4
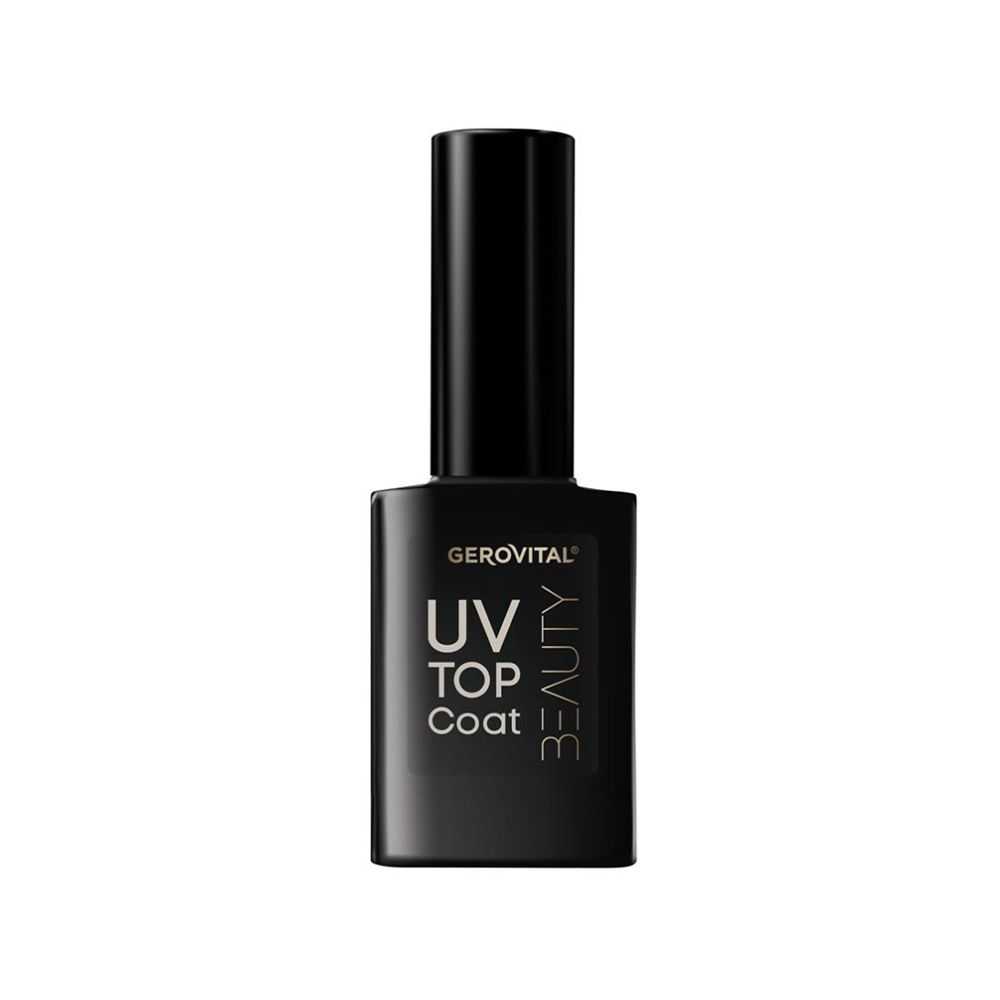
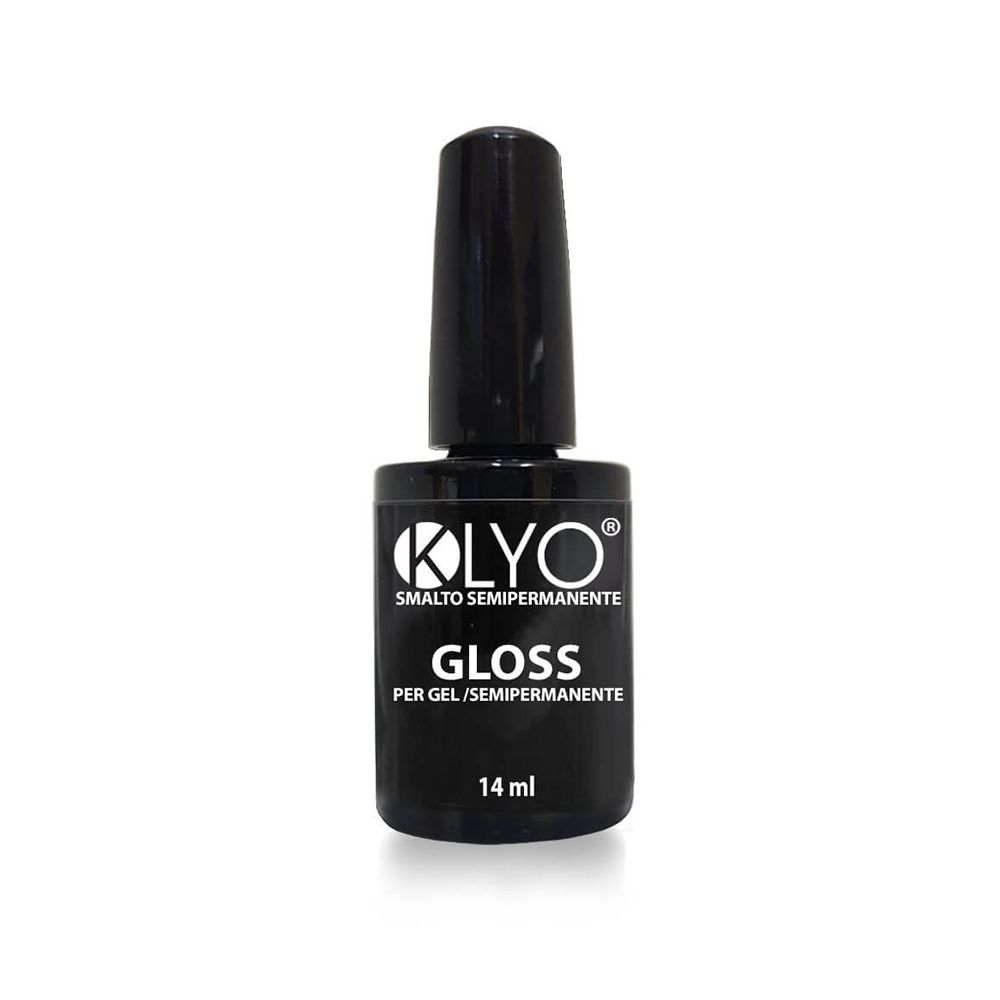
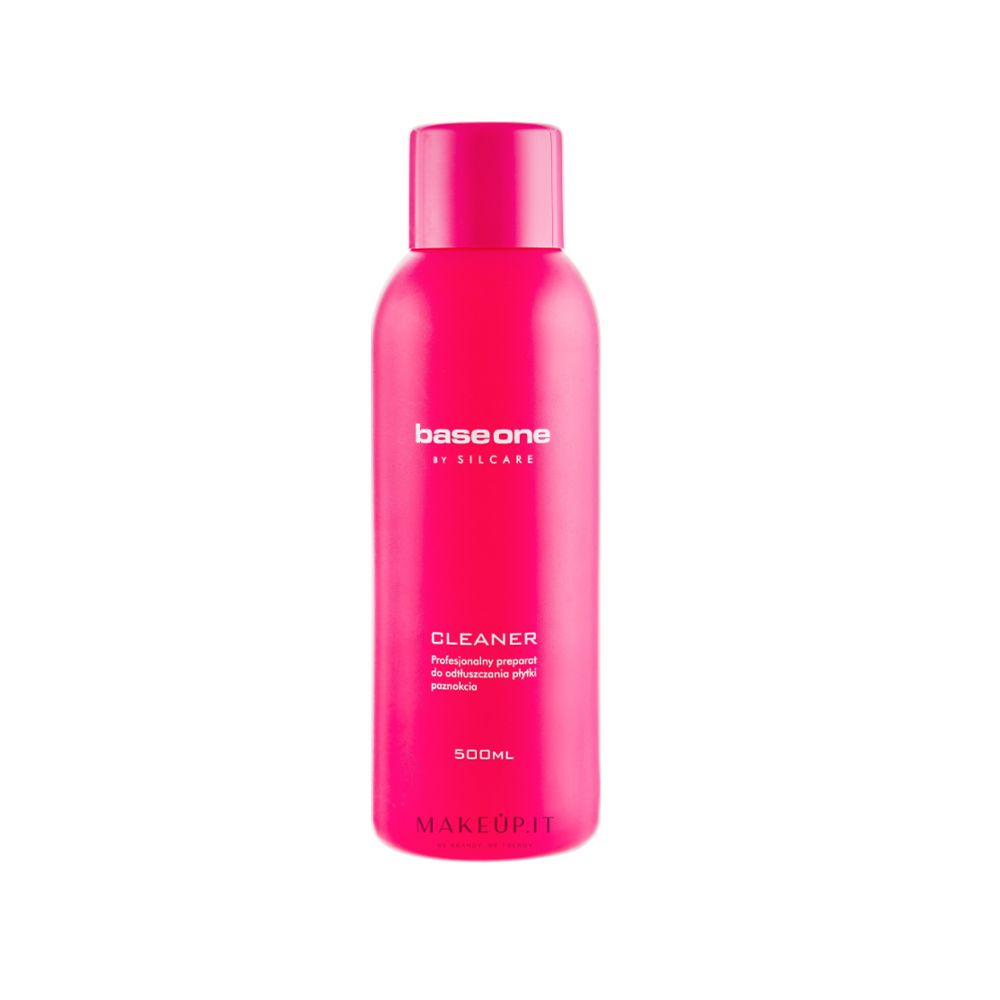
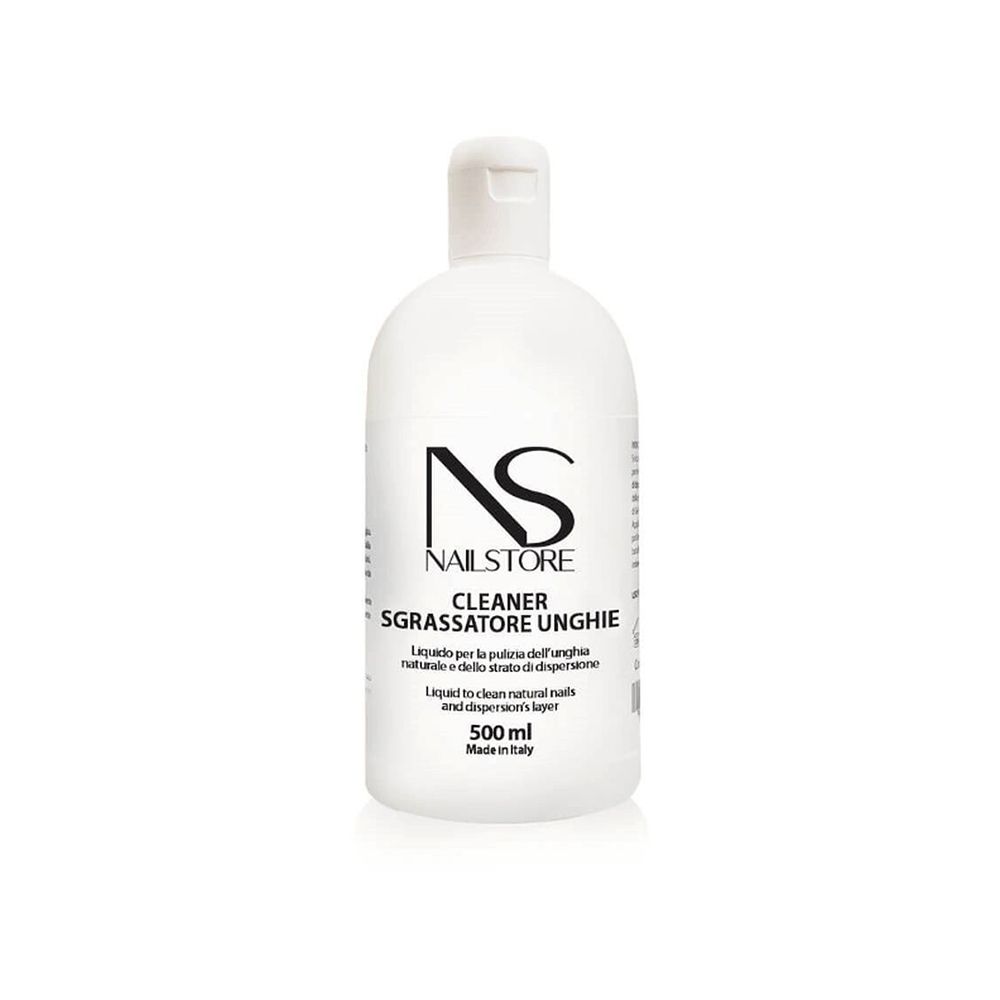
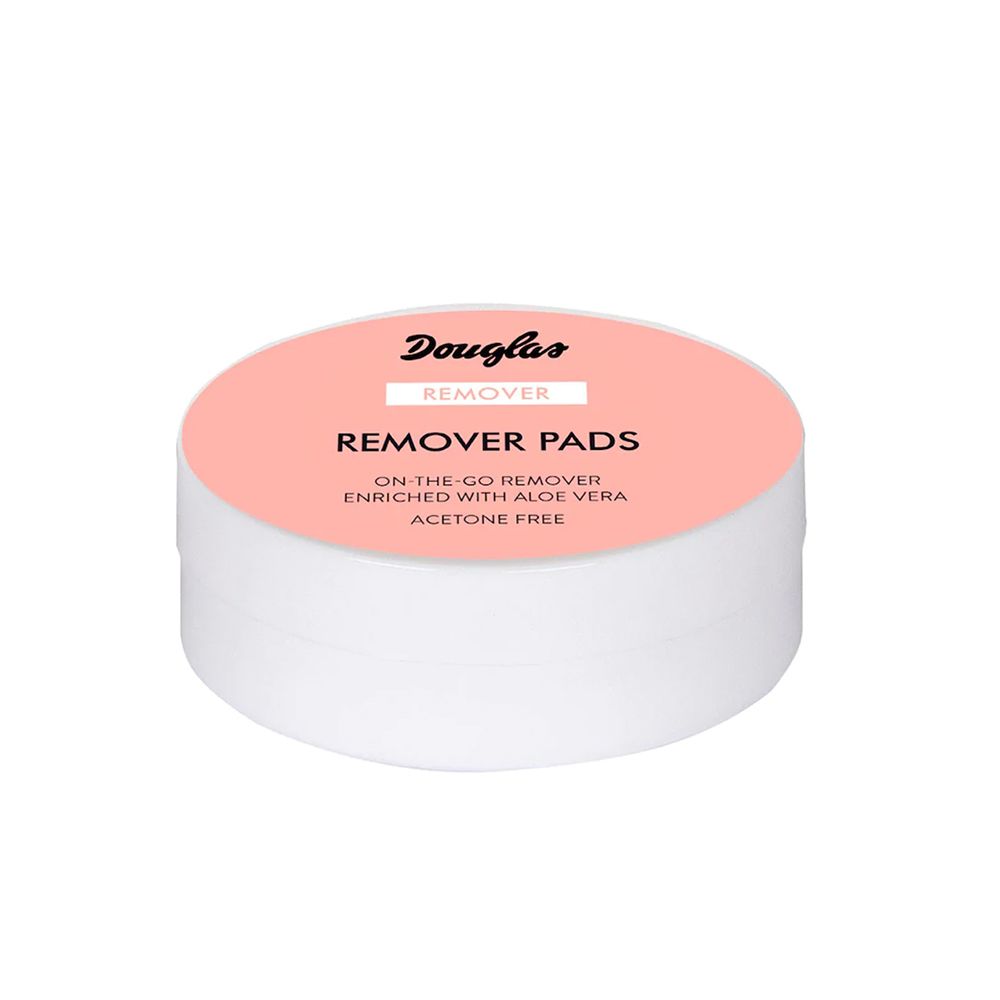
Finally, apply the top coat following the same procedure. Once the top coat has dried in the lamp, again for one minute, degrease the nails with the cleaner or with the special pads.
TO REMOVE
STEP 1
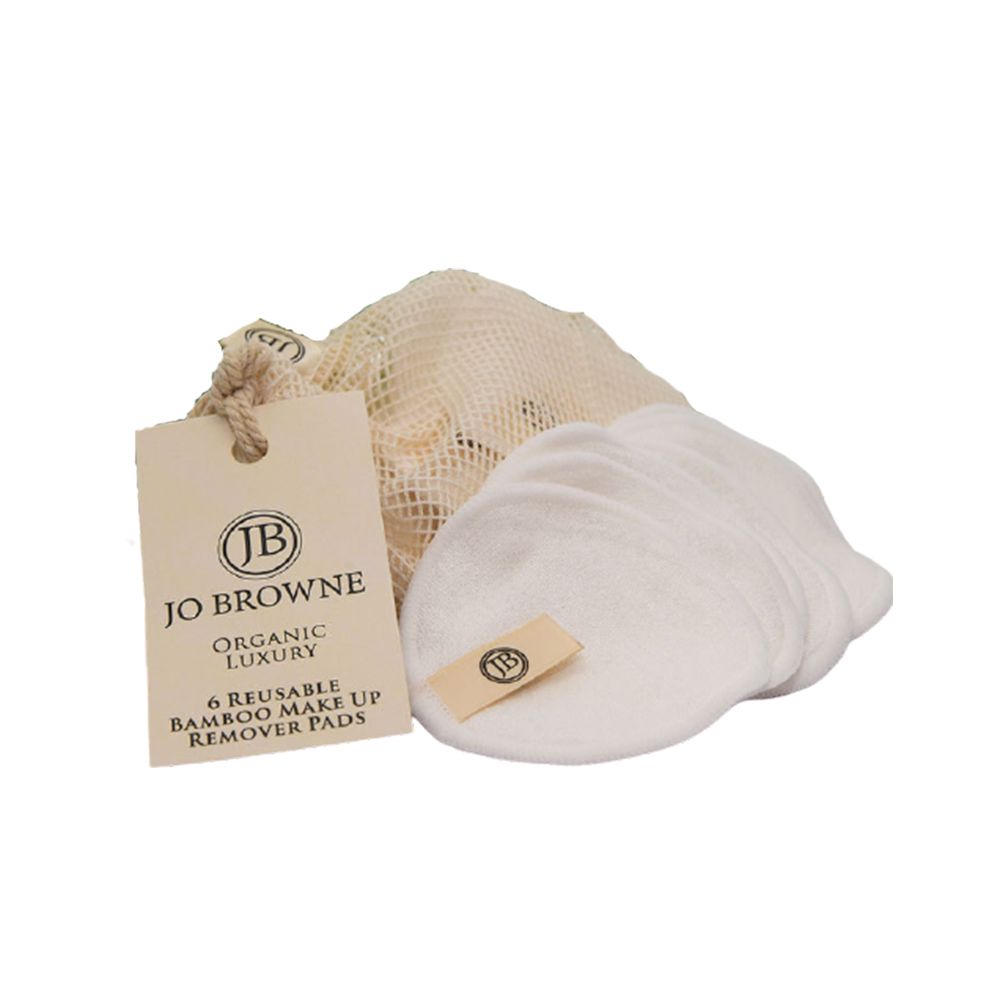
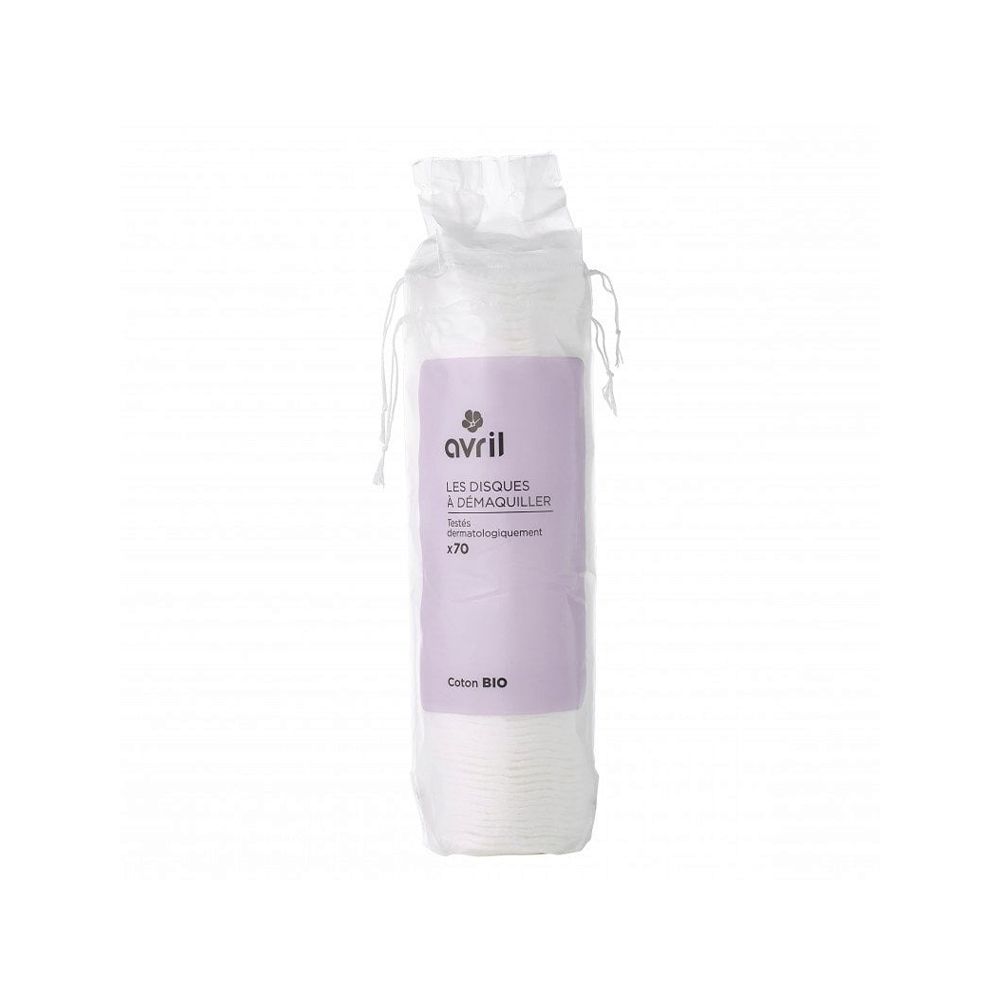
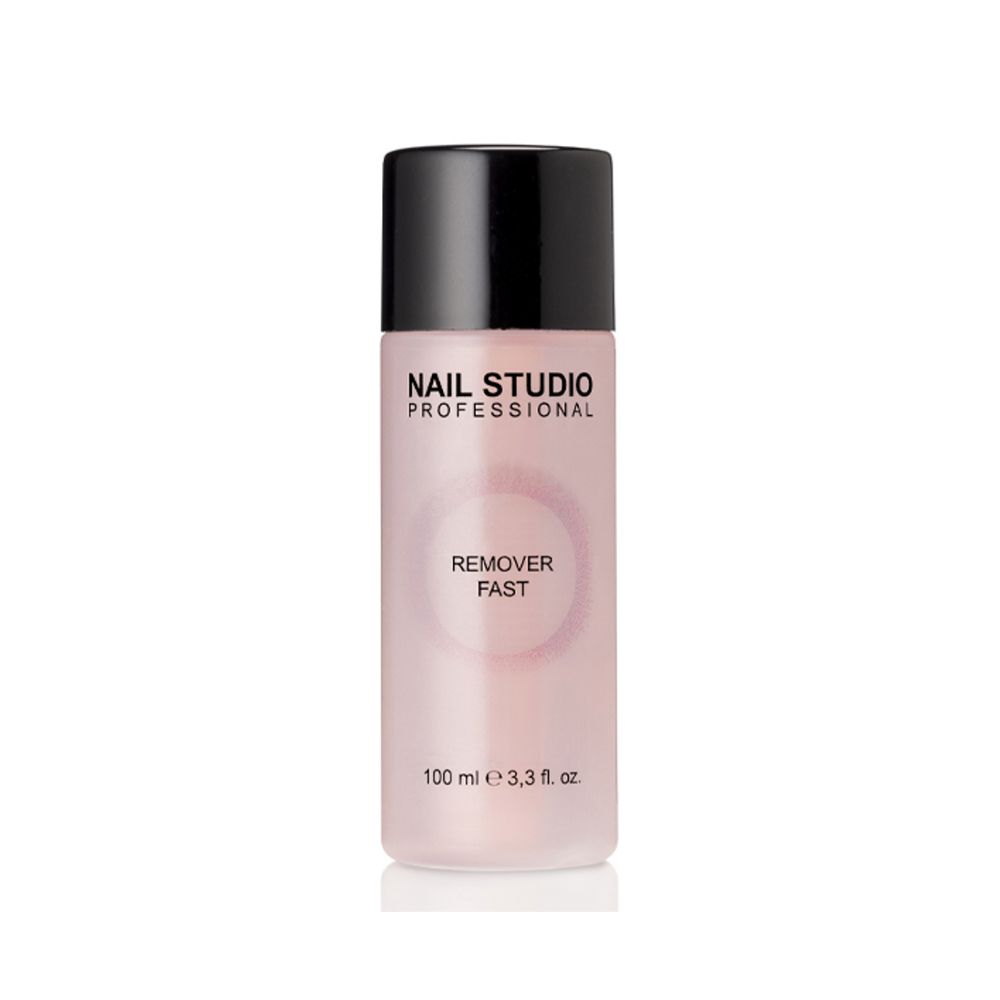
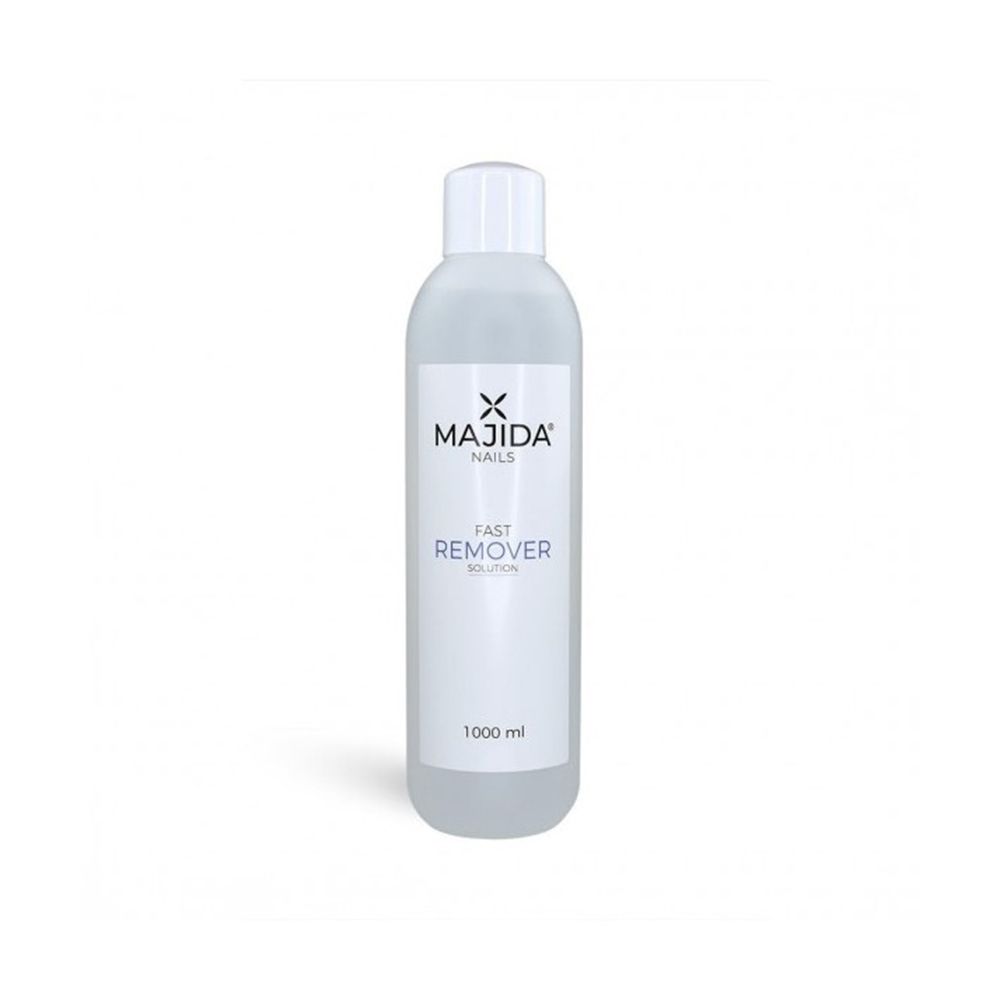
Lightly file the surface of the nail to remove the "shiny" layer in order to allow the nail polish remover to penetrate the nail polish. Then take a make-up remover pad, cut it in half and soak it in a normal solvent. Place it now on the nail and wrap everything with foil. Do the same procedure for all the fingers starting from the hand with which you are less practical, in this way it will be easier for you to apply on the other hand when one is already done. Leave the pack on for at least 15 minutes.
STEP 2
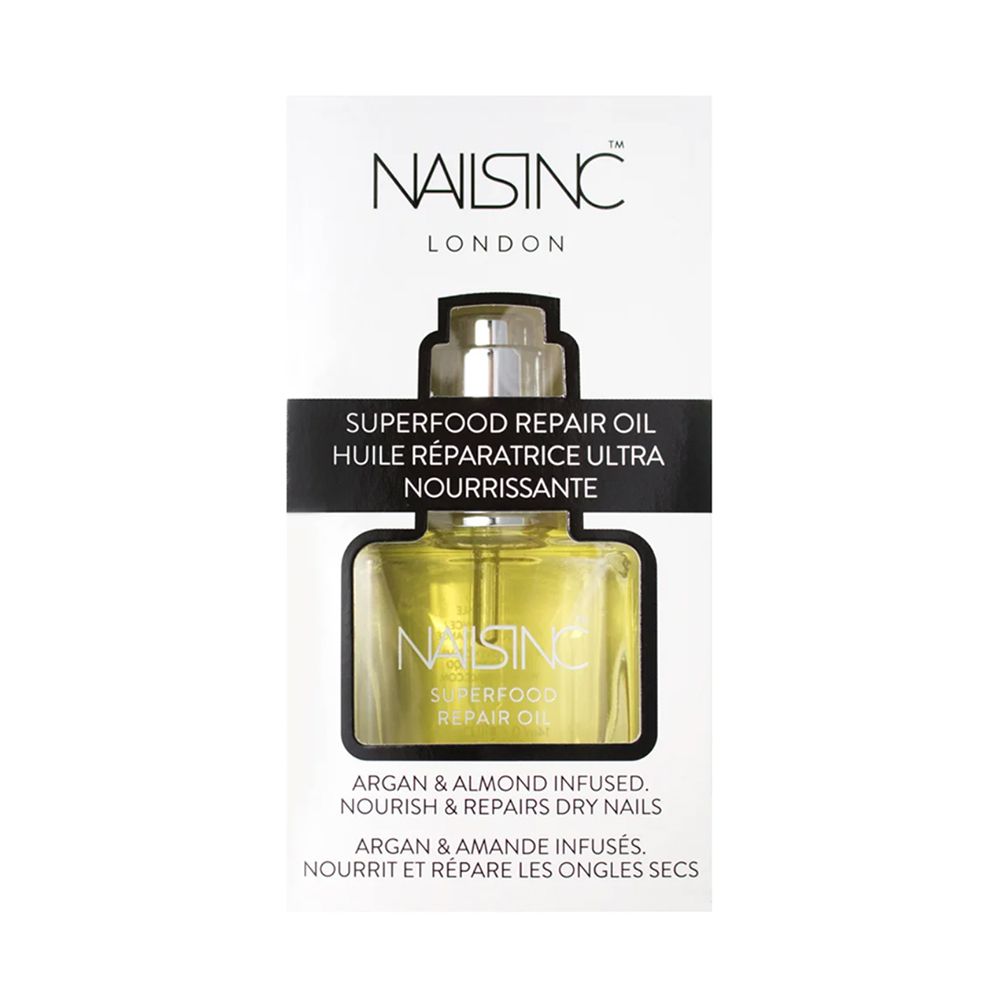
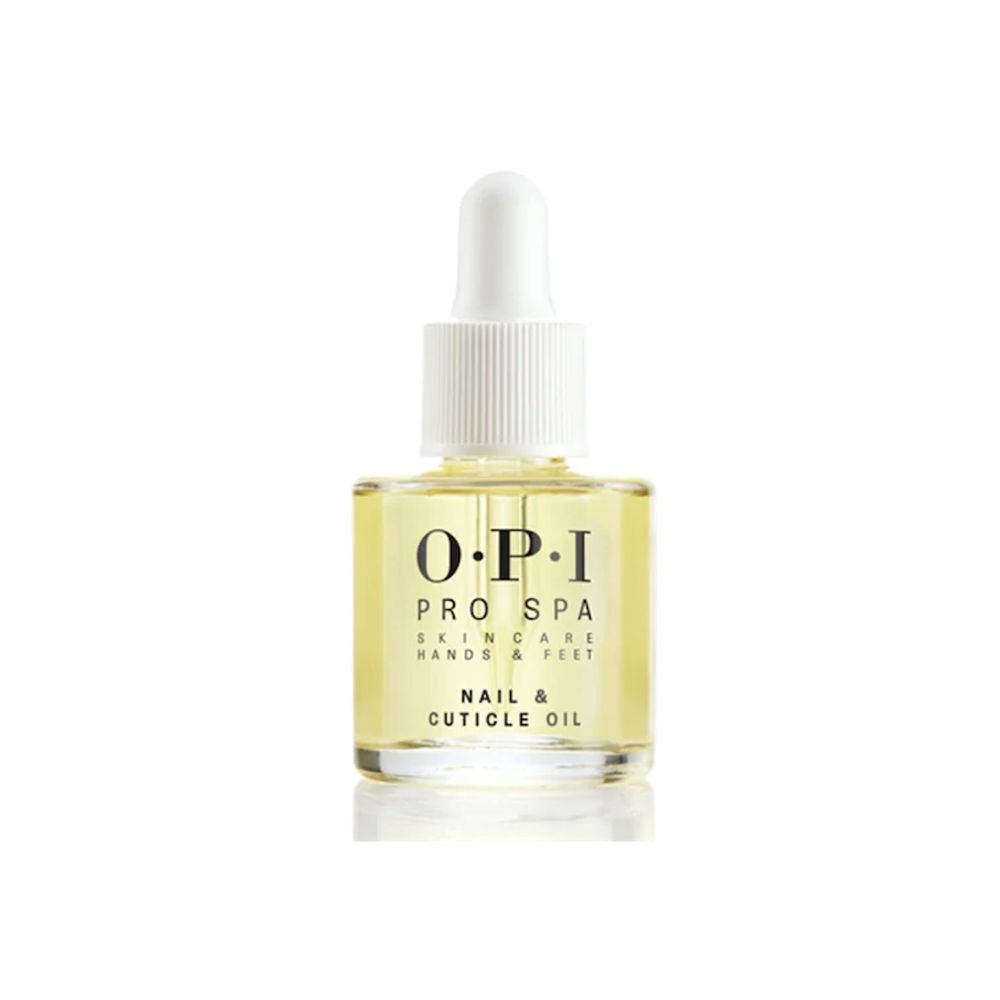
After the exposure time in which the nail polish remover penetrating the nail polish will have softened it, free one finger at a time and gently remove the gel polish residues with an orange wood stick. Finally, with a cardboard nailbrush, file the surface of the nail and apply an oil for nails.


