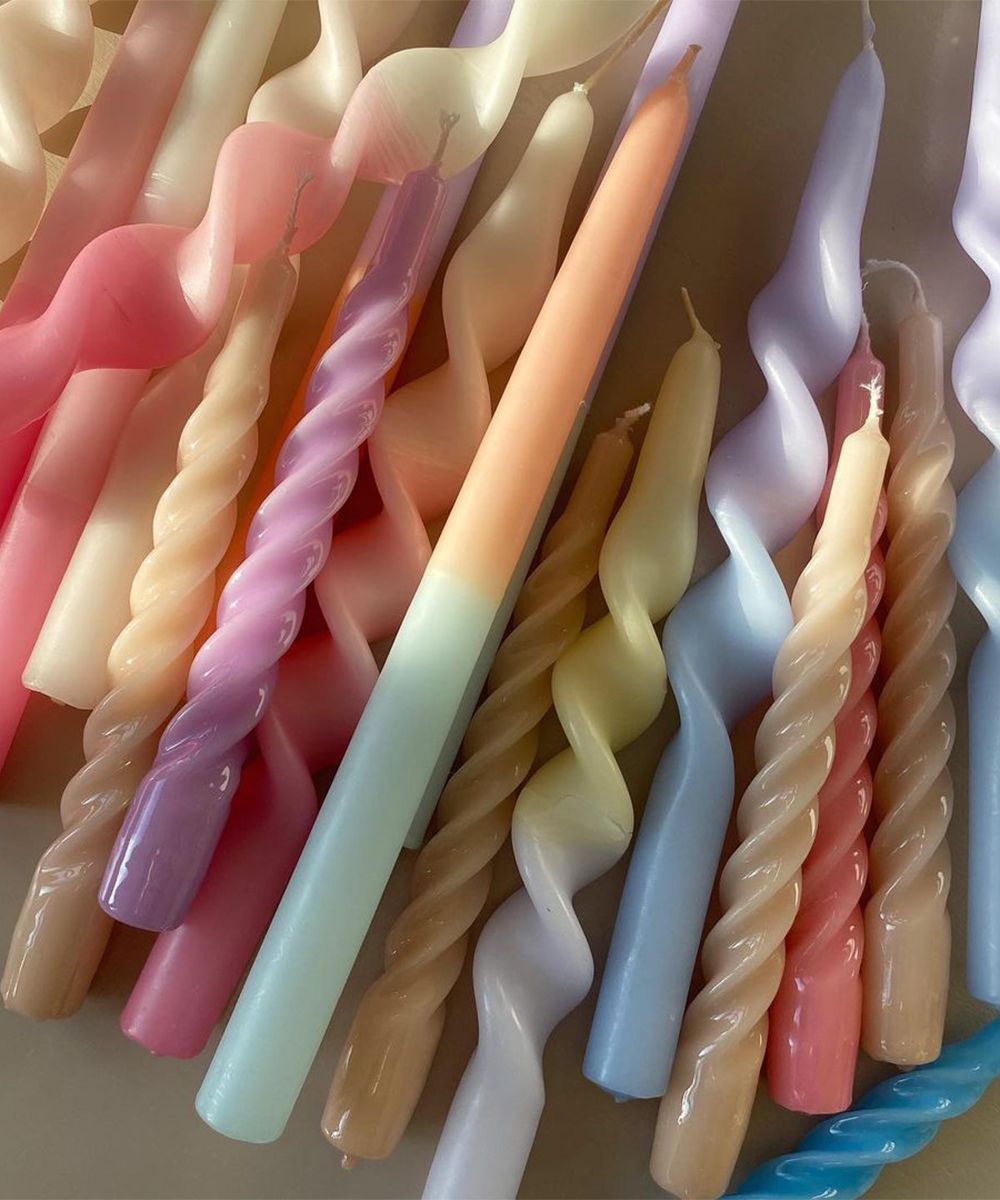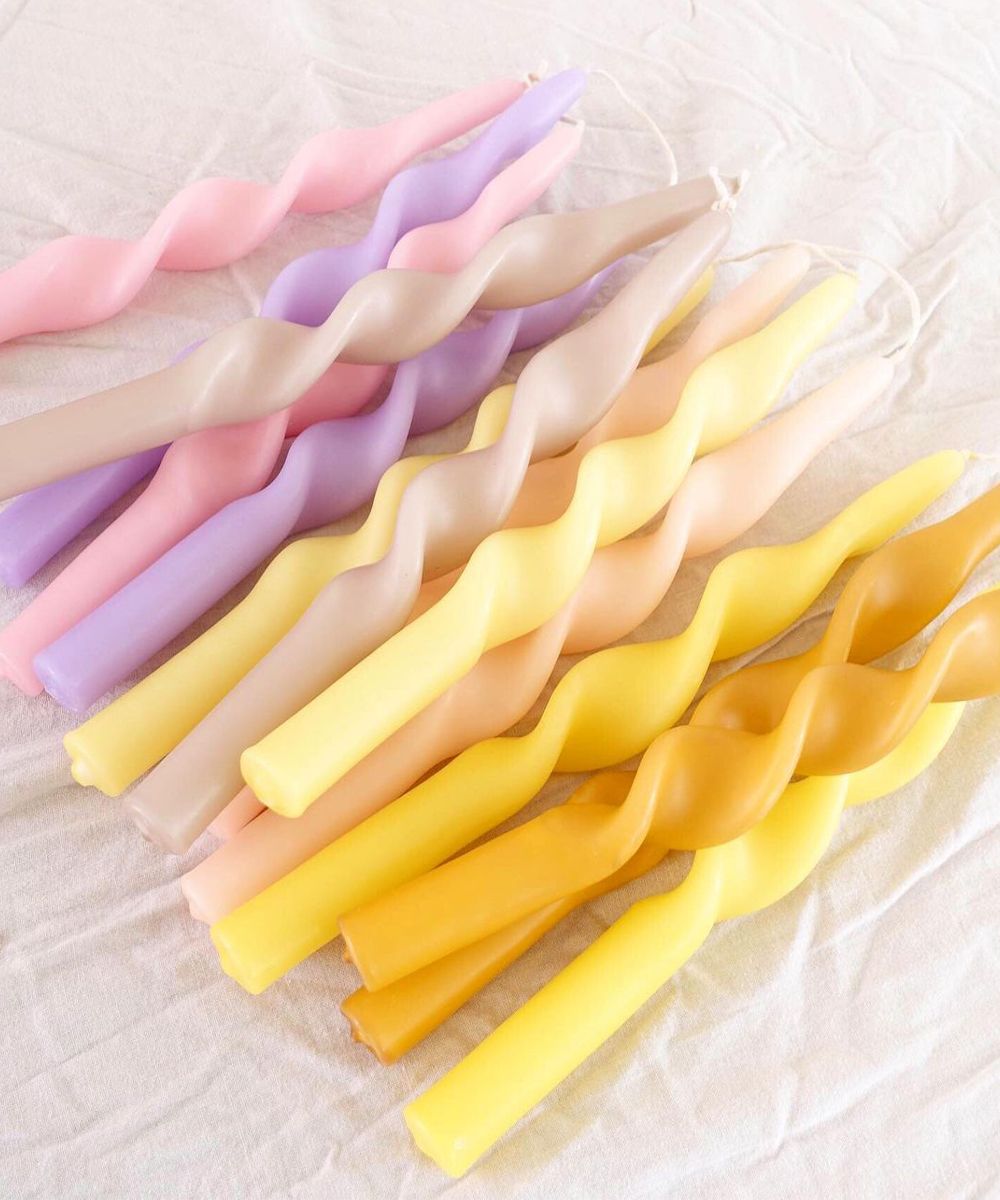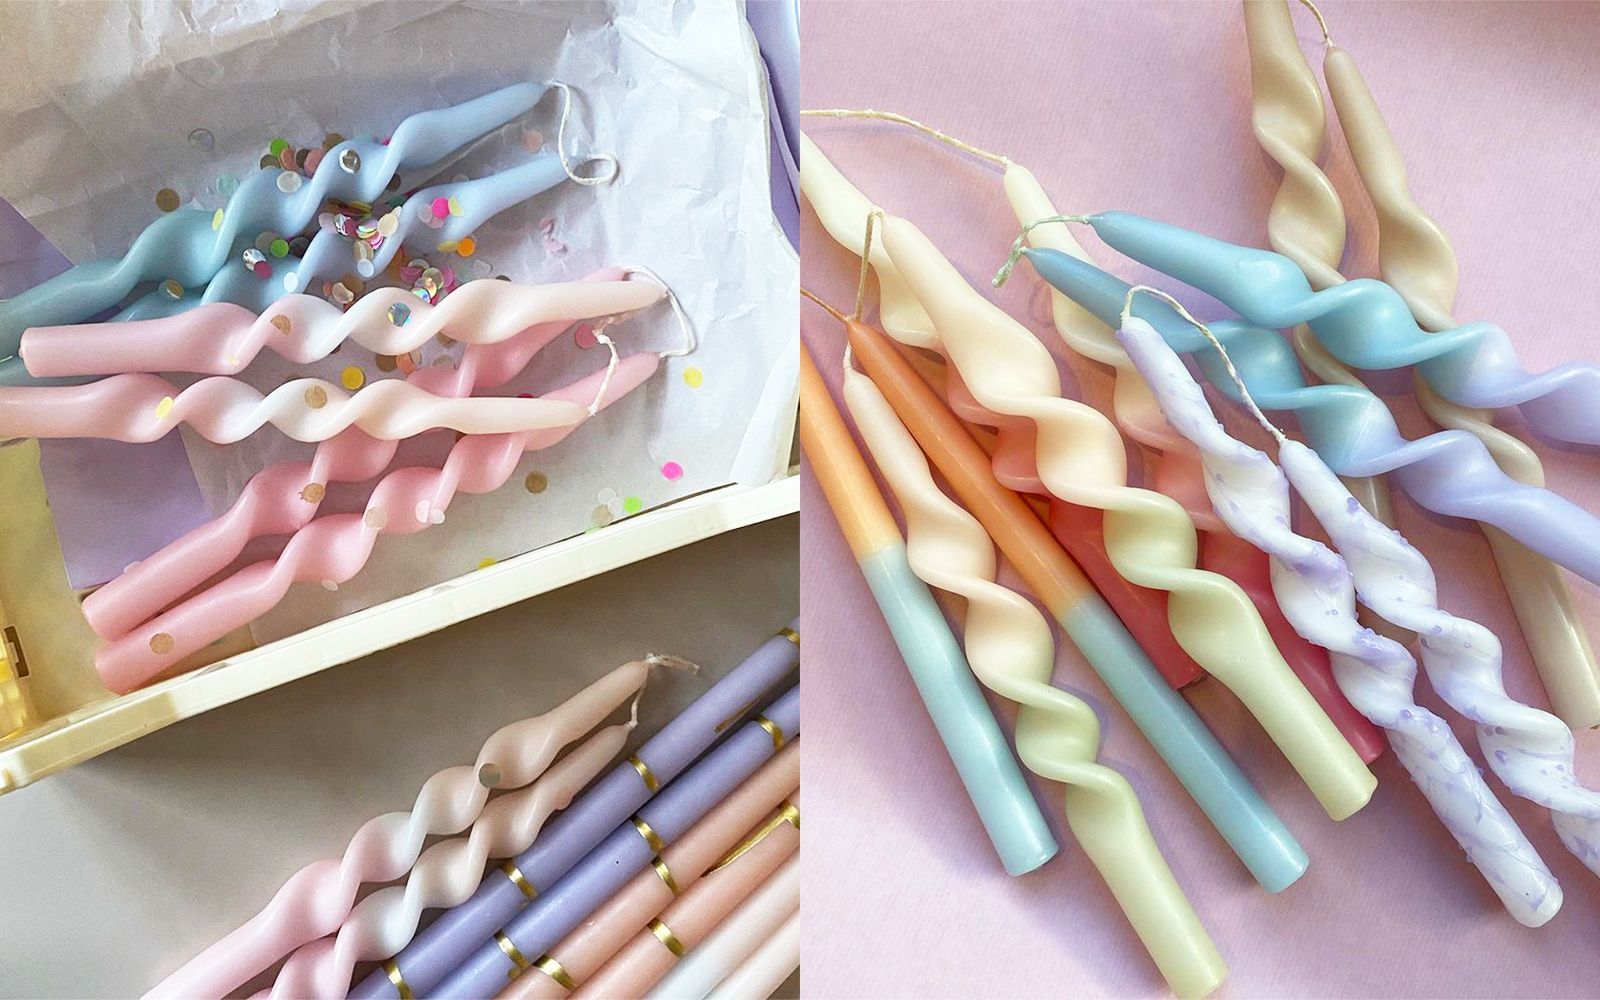
Guide to create at home the coolest candles of the moment Who doesn't want the colorful "twisted" candles that are so popular on Instagram?
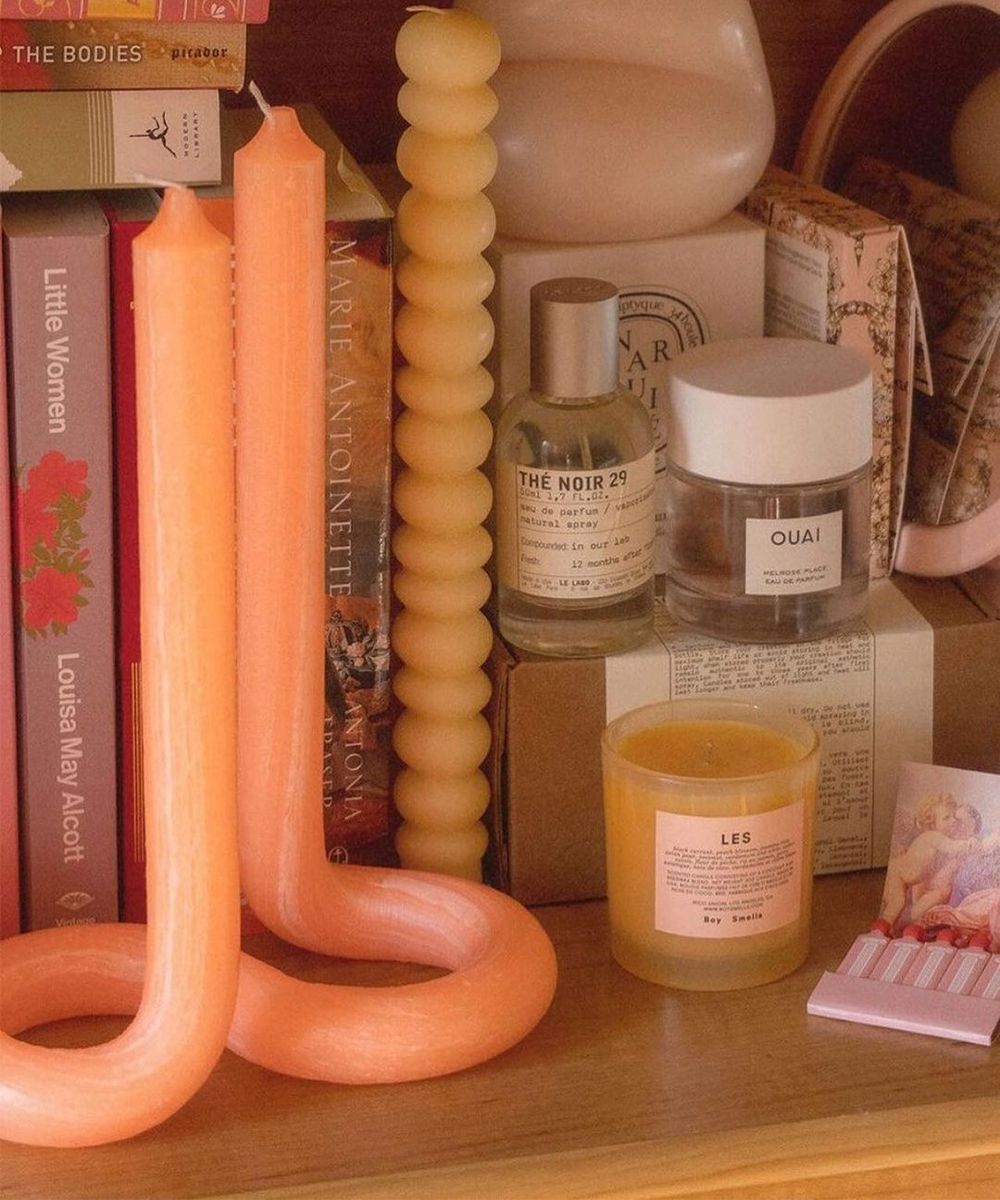
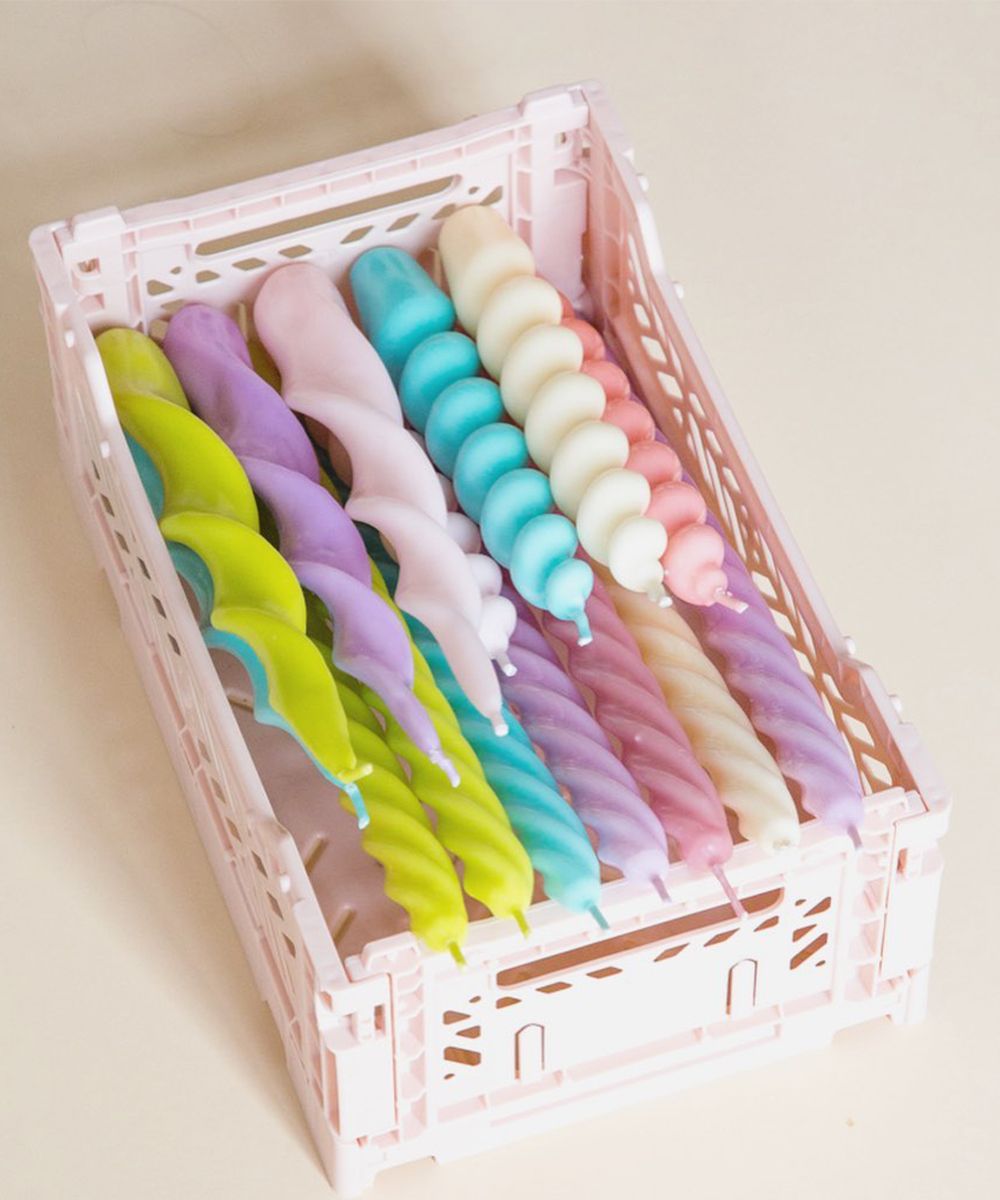
The super colorful twisted candles are everywhere on the web, especially on Instagram, and they became a real home decor trend. Colorful, S-shaped, long or short, they create a cool and playful effect, making our homes. Ideal for lighting and making the atmosphere special during dinners, mystical hot baths or just those gloomy afternoons spent on the sofa, candles are also an original do-it-yourself gift idea.
Although there are countless shops where you can buy them (sometimes too expensive), in fact, nss G-Club unveils the perfect recipe to recreate the popular candles at home, with an easy and relaxing process that turns into a pleasant creative moment. You will need just few tools - you can find most of them at home - with a small budget and the result is guaranteed, just like the surprise of those who will receive them as a gift or who will see them around your house!
What do you need
First, some stearic or paraffin candles. In short, synthetic wax. It is better to avoid natural wax because it melts too quickly and is difficult to handle. Then, a heat-resistant container (taller than the candles); last but not least a plastic placemat (it will be the playing field), and hot (not boiling) water.
The steps to follow
Step 1
Heat the water without boiling it (about 3 minutes in the microwave) and pour it into the heat-resistant container, possibly made of glass, to easily monitor the condition of the candles.
Step 2
Place the candles vertically inside the container with hot water, being careful not to get the wick wet and not to let them stick to each other. Wait about 10 minutes for them to soften to be worked and shaped. Do not worry if the tinted ones lose their pigment, they will get an artistic gradient effect.
Step 3
Once the time has passed (which varies depending on the temperature of the water, but in general it is 10 minutes), remove the candles from the water, let them drain for a few seconds until they are dry and place them on the placemat.
Step 4
Finally, it's time for shaping. With the strength of your creativity, twist the candles on themselves like a rolling pin, to check for malleability. Then proceed shaping it according to the desired shape.
Step 5
For the twisted candle: If the candle is sufficiently softened, flatten the wax in 3 or more specific points, square the shape with your fingertips in order to reduce the roundness and prepare for the expected moment. If it is not soft enough, the spark plug should be re-inserted into (warmer) water. In the flattened places, twist the candle around itself. Use two hands, with little pressure. We recommend starting at the bottom and then twisting the selected points higher up.
For the "S-shaped" candle: If the candle is sufficiently softened, take the point where you want to create the curve and gently shape it in the preferred direction, without twisting. Repeat the process on a second candle and join the ends with a flame to create the "snake" effect.
Step 6
Let the candle dry on the plastic placemat. In about 10 minutes they will be dry and ready to be the protagonists of any winter living room. The result will obviously be that of a DIY candle, so any imperfections should be appreciated as a symbol of uniqueness.
Step 7 (optional)
To give a more professional finish to the candles, get some glossy paint, dilute in water and apply on the candle placed vertically.
And for those who don't like DIY and prefer to buy a designer twisted candle, here are 10 ideas for a gift for themselves or for others. Enjoy!


